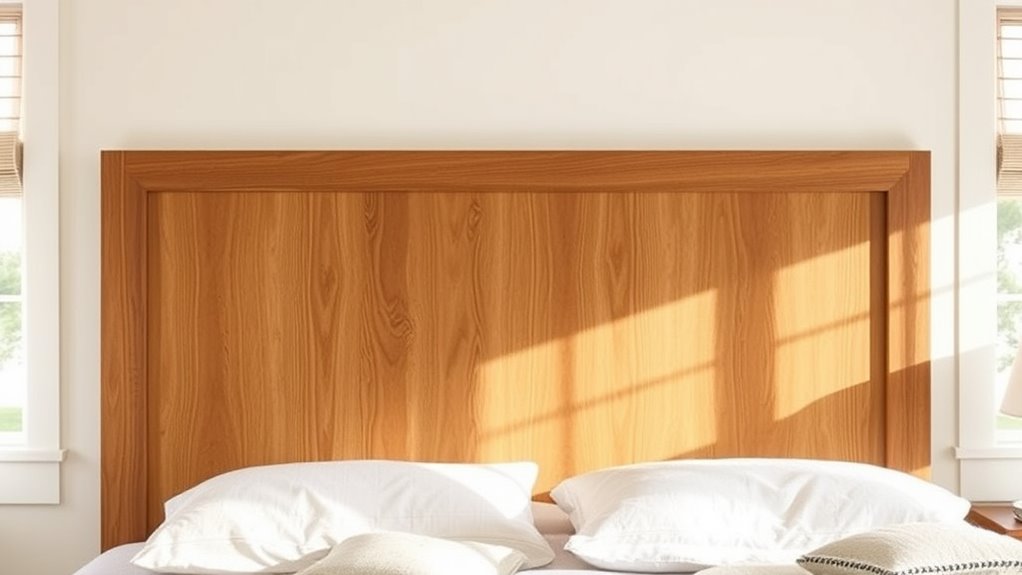
To build your own headboard with a simple design, start by choosing a style that matches your decor, such as rustic or modern. Measure your bed to determine the right size, then cut your wood or plywood to fit. Sand and stain or paint it for a finished look. Attach foam padding if you want added comfort, then cover it with fabric, pulling tight and stapling in place. With these easy steps, you’ll create a unique headboard that elevates your space—just keep going to discover more helpful tips.
Key Takeaways
- Measure your bed to determine the appropriate headboard size and design style.
- Select materials like reclaimed wood or plywood, and cut to the desired dimensions with clean edges.
- Attach foam padding and fabric, pulling tightly and stapling securely for a cushioned, finished look.
- Mount the headboard using sturdy brackets or screws, ensuring support by locating studs if wall-mounted.
- Add rustic or farmhouse details for personalized aesthetic, then position behind your bed for a complete setup.
Ever wondered how to transform your bedroom with a personalized touch? Building your own headboard is a fantastic way to do just that. It’s a rewarding project that allows you to showcase your style while saving money. The key to creating a headboard that truly reflects your personality lies in effective DIY techniques and careful material selection. With a little planning and some basic tools, you can craft a stunning centerpiece for your bed that looks professionally made.
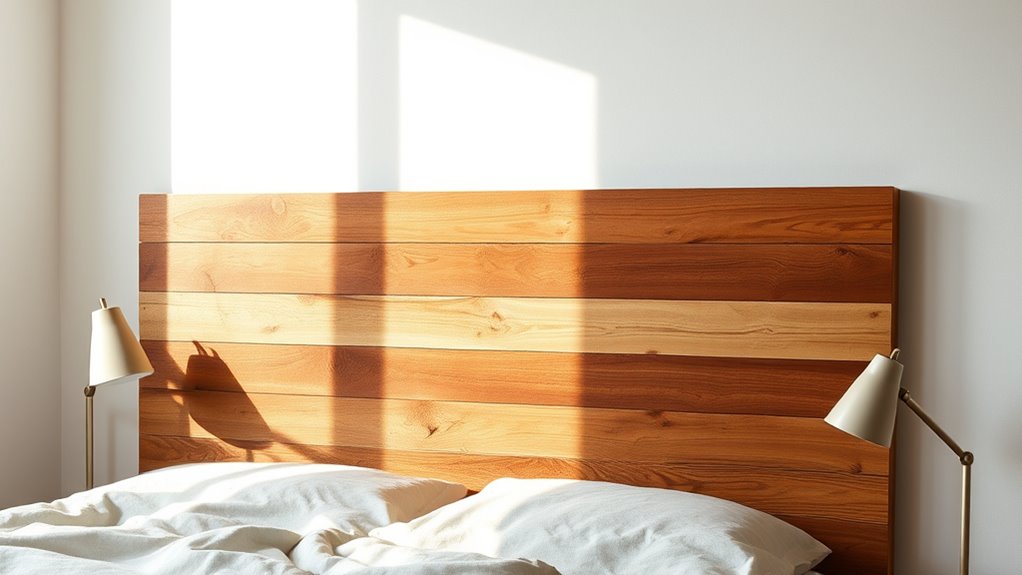
Start by deciding on the design you want. Do you prefer a sleek, modern look, or are you drawn to rustic, farmhouse styles? Once you have a vision, gather your materials. Your choice of material significantly impacts the overall look and durability of your headboard. Common options include wood, foam, fabric, or a combination of these. If you’re going for a natural, warm vibe, opting for reclaimed wood or plywood can be both eco-friendly and budget-friendly. For a softer, cushioned feel, foam padding covered with fabric is a popular choice. Make sure to select materials that suit your comfort preferences and complement your bedroom decor.
When it comes to DIY techniques, preparation is essential. Measure your bed to determine the ideal size for your headboard. Cut your chosen material to the appropriate dimensions, ensuring clean, straight edges. Sand any rough surfaces for a smooth finish, especially if you’re working with wood. If you’re using wood, you might want to stain or paint it beforehand to achieve your desired color or finish. For upholstered options, cut foam to size and attach it securely to the backing using spray adhesive or a staple gun. Then, cover the foam with your chosen fabric, pulling it tight and stapling it neatly on the back. For a clean look, tuck in the fabric edges and secure them tightly. Incorporating rustic design elements can further enhance the farmhouse aesthetic, making your headboard a true statement piece.
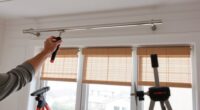
Assembly is straightforward. Attach legs or mounting brackets to the back of your headboard, depending on whether you want it free-standing or wall-mounted. Use sturdy screws and a drill to make sure everything stays firmly in place. If you’re mounting it on the wall, make sure to locate studs for extra support. Once assembled, position your new headboard behind your bed, and enjoy the personalized touch you’ve added to your space.
Building your own headboard doesn’t have to be complicated. By choosing the right materials and applying simple DIY techniques, you can create a beautiful, customized feature that elevates your bedroom’s style. It’s a project that combines creativity with practicality, giving you a sense of accomplishment every time you walk into your room and see your handiwork. Plus, it’s a flexible process—you can tailor your design as much or as little as you want, making it uniquely yours.
Frequently Asked Questions
What Tools Are Needed for Building a Headboard?
To build a headboard, you’ll need essential tools like a saw, drill, measuring tape, and clamps. Remember woodworking safety by wearing safety goggles and gloves. Follow DIY project tips by marking your cuts carefully and working on a stable surface. These tools help you craft a sturdy headboard, and prioritizing safety guarantees a smooth, enjoyable project from start to finish. Always stay cautious and enjoy the process!
How Much Does a DIY Headboard Typically Cost?
Imagine transforming your space with a custom headboard—it’s more affordable than you think. Typically, a DIY headboard costs between $50 and $200, depending on your material choices and design complexity. Your cost estimation varies based on materials like reclaimed wood, fabric, or plywood, and whether you repurpose items or buy new. By selecting budget-friendly options, you can create a stylish focal point without breaking the bank.
Can I Customize the Size for Different Bed Frames?
Yes, you can customize the size for different bed frames. With various bed size variations, your headboard should fit perfectly, so you can tailor the dimensions to match your specific bed. Many DIY headboard projects offer customization options, allowing you to adjust height, width, and style to suit your preferences. Just measure your bed carefully and modify your design accordingly for a perfect fit.
What Safety Precautions Should I Follow During Construction?
Imagine building your headboard as crafting a sturdy ship—safety is your anchor. You should wear safety gear like goggles and gloves to shield yourself from splinters or falling debris. Be cautious of electrical hazards if working near outlets or wiring. Keep your workspace tidy to prevent accidents. Follow instructions carefully, and don’t rush. Prioritizing safety guarantees your project stays afloat, steering clear of mishaps and guiding you to a successful, worry-free build.
How Do I Attach the Headboard Securely to the Wall?
To attach your headboard securely to the wall, start with wall mounting brackets and safety anchors. Position the brackets on the headboard and mark where they’ll go on the wall. Drill holes, insert safety anchors, and then fasten the brackets using screws. Make sure to check that everything’s tight and level. Using safety anchors ensures the headboard stays firmly in place, preventing accidents and providing a sturdy, safe attachment.
Conclusion
Now, isn’t it funny how a simple project like building your own headboard can transform your bedroom? As you step back and admire your handiwork, you might just realize that sometimes, the best ideas come when you least expect them. With a little effort, you’ve created something unique that perfectly fits your style. So, next time you’re inspired by a random thought or moment, remember—you’re capable of turning that into something beautiful.