
To make DIY wall molding look professional, focus on precise measurements and selecting the right materials that match your wall’s thickness. Carefully sand and fill gaps for smooth shifts, and tape edges to guarantee clean, straight lines. Prime and paint with high-quality supplies, applying thin, even coats for a flawless finish. Attention to detail in every step transforms your project from homemade to polished—keep going to discover how finishing touches can elevate your space even further.
Key Takeaways
- Choose molding that matches wall thickness for a flush, seamless appearance.
- Use high-quality materials and proper measurements to ensure consistent, polished results.
- Prime and apply thin, even coats of paint with controlled strokes for a smooth finish.
- Fill, sand, and tape carefully to create clean, straight edges and seamless transitions.
- Pay attention to small details and take your time to achieve a refined, professional look.
If you’ve ever admired the elegant look of professionally installed wall moldings but thought it was too complicated or expensive to do yourself, think again. Achieving that seamless, polished appearance is entirely possible with a little planning and attention to detail. The key lies in understanding how to select the right materials and techniques, especially when it comes to wall thickness and paint finish. These elements might seem minor, but they significantly influence the final look of your DIY wall molding.
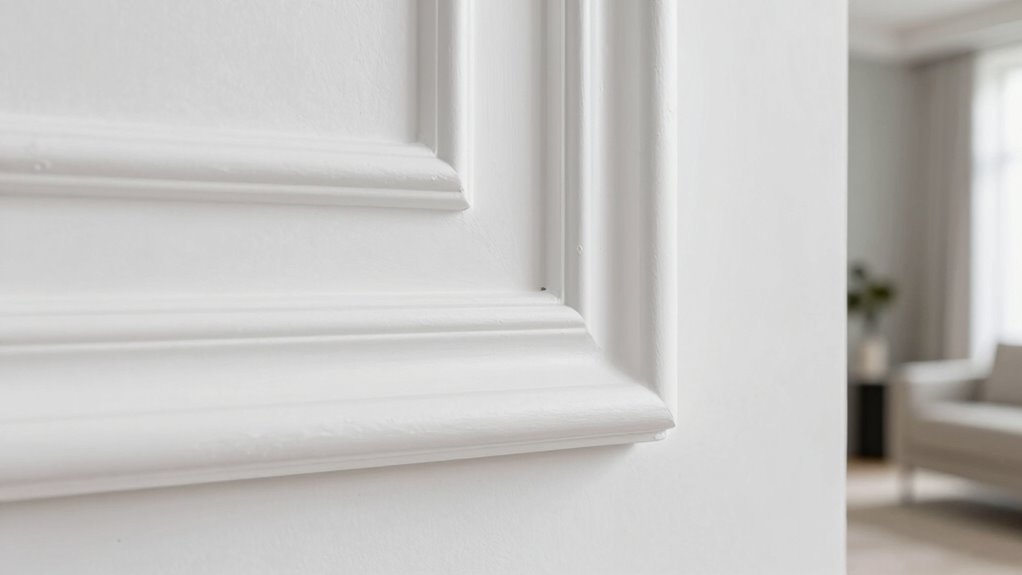
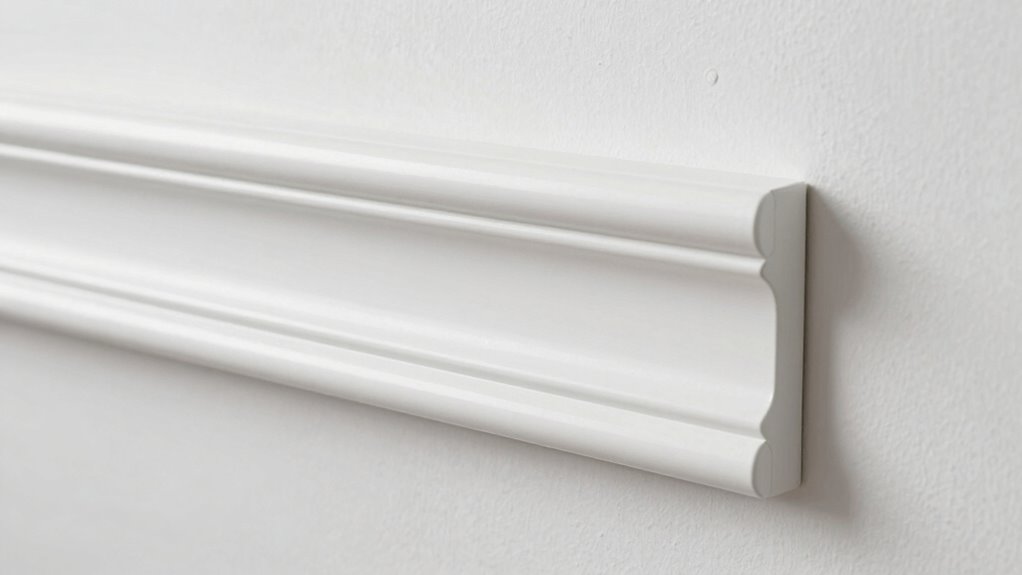
First, pay close attention to wall thickness. When choosing your molding material, opt for a product that complements your wall’s thickness and ensures a snug fit. Thinner or overly thick moldings can look cheap or awkward if they don’t sit flush against the wall. Properly measuring and selecting moldings that match the wall’s dimensions helps create a clean, professional appearance. If your wall has uneven patches or imperfections, using a thicker molding can also help mask these flaws, giving your wall a refined, finished look. Additionally, selecting materials known for their competitive pricing and quality can help you achieve a professional outcome without overspending.
Choose molding that matches your wall’s thickness for a seamless, polished look.
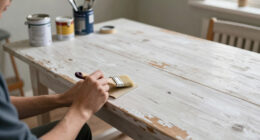
Next, focus on achieving a high-quality paint finish. The paint job can make or break the professional appearance of your wall moldings. For the best results, prime the moldings before applying paint, which helps the color adhere smoothly and reduces brush or roller marks. Use a high-quality paint designed for trim or molding, as these products tend to provide a smoother, more durable finish. When painting, use even, controlled strokes, and consider applying multiple thin coats rather than one thick coat. This approach minimizes drips and uneven coverage, resulting in a sleek, professional look.
Pay attention to details like caulking and filling gaps. Filling in nail holes and seams with the right filler and sanding them smooth creates a seamless transition between the molding and the wall. This step is crucial for a polished look that mimics professional work. Afterward, carefully tape off the edges to prevent paint bleed, and use a steady hand to ensure clean lines. If you’re aiming for a more elevated finish, consider adding a semi-gloss or satin topcoat over the paint; it adds a subtle sheen and protects your work from wear over time. Additionally, understanding wall thickness is essential to selecting the right molding size and achieving a harmonious look.
In the end, what makes your DIY wall molding look professional isn’t just following a tutorial but paying attention to these small details. Matching wall thickness with the molding, ensuring a flawless paint finish, and taking your time with preparation and finishing touches elevate your project from amateur to impressive. With patience and precision, you can transform your space into one that looks like it was done by a pro—without the hefty price tag.

Duzzy Flexible Baseboard Molding Trim, 4 Inch(W) x 20 Feet(L) Peel and Stick Rubber Wall Trim Molding, Self-Adhesive Vinyl Wall Base Cove Base
[PEEL AND STICK BASEBOARD] 0.1 Inch (thickness) x 4 Inch (high) x 20 Ft (length). Self-adhesive backing, easy…
As an affiliate, we earn on qualifying purchases.
As an affiliate, we earn on qualifying purchases.
Frequently Asked Questions
What Tools Are Essential for Installing Wall Molding?
To install wall molding effectively, you’ll need essential tools like a miter saw or a hand saw for precise cuts, a measuring tape to guarantee accurate measurements, and a level for straight lines. A pencil helps mark molding patterns and decorative accents, while a nail gun or hammer secures the molding in place. These tools help you achieve clean, professional-looking results that highlight your decorative accents and molding patterns seamlessly.
How Do I Choose the Right Molding Style for My Space?
To choose the right molding style for your space, start by exploring design inspiration from magazines, online galleries, or home improvement shows. Consider your room’s architecture and existing decor to guarantee harmony. Evaluate material options like wood, MDF, or polyurethane, based on durability and budget. Pick a style—whether traditional, modern, or ornate—that complements your overall aesthetic, making your DIY project look polished and cohesive.
How Do I Ensure Precise Measurements for Molding Cuts?
To guarantee your cuts hit the bullseye, think of measuring techniques as your guiding compass. Use a reliable tape measure, double-check your measurements, and mark carefully before cutting. For cutting accuracy, consider a miter saw for clean, precise angles, and always support your molding properly. Taking your time with measurements and using sharp tools transforms a simple project into a polished, professional-looking finish that truly stands out.
What Types of Paint or Finish Work Best on Wall Molding?
You should choose a paint finish that enhances your wall molding’s look and durability. Satin or semi-gloss finishes work best because they provide a subtle sheen and are easy to clean. Decorative coatings, like high-quality enamel or latex paints, give your molding a polished, professional appearance. These finishes resist moisture and stains, ensuring your DIY project remains attractive over time. Always prep the surface well before painting for the best results.
How Can I Correct Mistakes During Molding Installation?
Like an artist revisiting their canvas, you can correct mistakes during molding installation by carefully removing or sanding the flawed sections before applying fresh adhesive or paint. If imperfections persist, consider using decorative accents or alternative materials to disguise errors and enhance the look. Taking your time and adjusting as needed guarantees your wall molding appears seamless and professional, transforming errors into opportunities for creative design.
EVOLVE Ultimate White Paint & Primer in One, Semi-Gloss White, 1 Gallon – Interior & Exterior, One-Coat Coverage, Excellent Hide, Low Odor, Low VOC, Washable Paint for Walls, Ceilings & Trim
ALL-IN-ONE PAINT AND PRIMER: Saves time and effort by priming, sealing, and finishing in one step for smooth,…
As an affiliate, we earn on qualifying purchases.
As an affiliate, we earn on qualifying purchases.
Conclusion
With a little patience and attention to detail, your DIY wall molding can look as stunning as a professionally designed space—no magic required! When you carefully measure, cut, and install, you’ll create a transformation that’s nothing short of breathtaking. Remember, your effort can turn plain walls into a show-stopping feature that rivals high-end interiors. So go ahead, embrace the challenge, and watch your home become a masterpiece—your wall molding skills might just outshine those of pros!

Gap Filler – 310ml (Oak)
Use on wood, cork, tile, resilient, and other hard surface floor coverings.
As an affiliate, we earn on qualifying purchases.
As an affiliate, we earn on qualifying purchases.

JOREST Connectable Contour Gauge (10+5 Inch), Gifts Ideas for Men Dad Handyman Husband Him, Shape Profile Duplicator with Lock, Outline Angle Measuring Tool, Template Tool, Tile Flooring, Scribe Edge
【Three Sizes】The 5-inch and 10-inch contour gauges can be spliced together so that you have three sizes of…
As an affiliate, we earn on qualifying purchases.
As an affiliate, we earn on qualifying purchases.