Start by selecting a complementary color and finish suited to your space. Gather high-quality tools like brushes, rollers, painter’s tape, and safety gear. Clean and sand the wall for a smooth surface before taping off the area precisely. Apply the base coat, letting it dry completely. Use steady strokes to paint the accent wall, then carefully remove the tape and touch up any imperfections. If you want detailed steps and pro tips, keep exploring further.
Key Takeaways
- Measure and mark the wall area accurately, then tape off clean, straight edges for sharp lines.
- Prepare the surface by cleaning, sanding, and priming to ensure smooth paint adhesion.
- Apply the base coat evenly using high-quality tools, and let it dry completely before adding the accent color.
- Use painter’s tape to create desired patterns or borders, then carefully paint the accent area with controlled strokes.
- Remove tape slowly after the paint dries, inspect for touch-ups, and clean tools immediately for a professional finish.

ScotchBlue Original Multi-Surface Painters Tape, 2 Inch Wide (1.88 in. x 60 Yds), 1 Roll Blue Paint Tape Protects Surfaces & Removes Easily, Masking Tape for Indoor and Outdoor Use (2090-48NC)
READY. SET. PAINT!: 1 roll of 1.88 inch wide ScotchBlue Original Painter's Tape, a multi-surface solution for preparing…
As an affiliate, we earn on qualifying purchases.
As an affiliate, we earn on qualifying purchases.
Selecting the Perfect Color and Finish
Choosing the right color and finish is essential to achieving a professional-looking accent wall. Start by considering color harmony with your existing decor; bold colors can make a statement, while softer hues create subtle elegance. Think about the mood you want to set—calm, energetic, or sophisticated—and select a shade that complements that vibe. When choosing your finish, prioritize durability, especially in high-traffic areas or rooms prone to moisture, like kitchens or bathrooms. A matte finish hides imperfections and adds a modern touch, while satin or semi-gloss offers enhanced durability and a slight sheen. Additionally, understanding the properties of different paint finishes can help you make an informed choice that aligns with your needs. Balancing color harmony with a suitable finish ensures your accent wall not only looks stunning but also withstands daily wear, keeping your space beautiful for years.

ARTIFY 25 Pieces Professional Paint Brush Set – Expert Series Synthetic Nylon Brushes for Acrylic, Oil, Watercolor, Gouache – No Shedding, Canvas Roll Case & Palette Knife, Artist Gifts Art Supplies
Ferrules Stay Secure: ARTIFY paint brushes feature chrome-plated copper ferrules, secured with premium glue at the wood-bristle junction….
As an affiliate, we earn on qualifying purchases.
As an affiliate, we earn on qualifying purchases.
Gathering Your Tools and Supplies
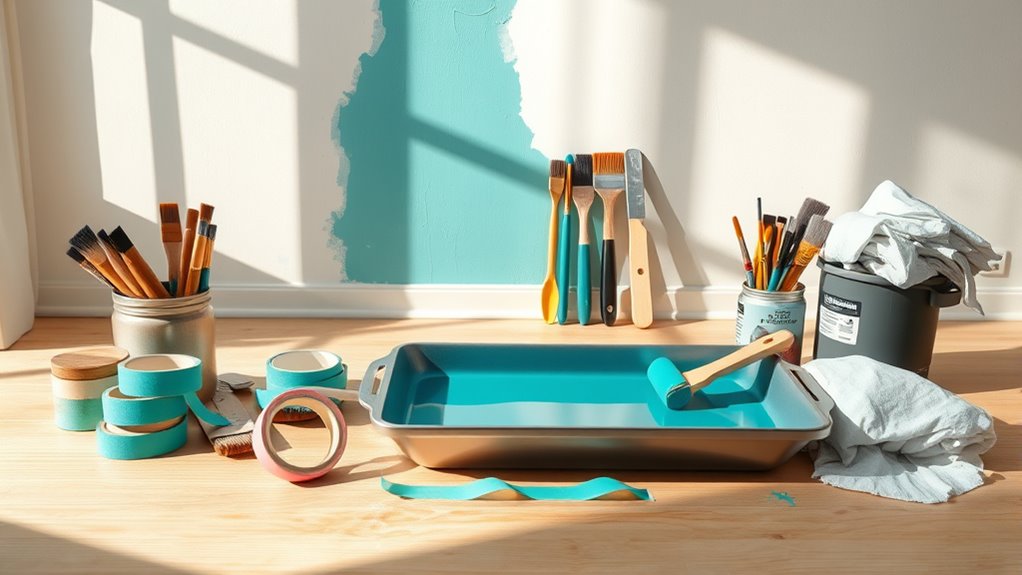
Before you start, gather all the essential painting tools like brushes, rollers, and painter’s tape. Choose high-quality paint to guarantee a smooth, long-lasting finish, and don’t forget protective equipment such as gloves and masks. Having everything ready keeps your project organized and helps achieve professional-looking results. Additionally, consider device compatibility to ensure your tools and accessories work seamlessly throughout your project.
Essential Painting Tools
To achieve a professional-looking accent wall, gathering the right painting tools is essential. Your choice of brush selection and roller types directly impacts the smoothness and precision of your finish. Select brushes that suit your wall’s texture—angled brushes for edges and flat ones for larger areas. Use rollers with appropriate nap lengths: short for smooth surfaces, long for textured walls. Here’s a quick overview:
| Tool | Purpose |
|---|---|
| Angled Brush | Precise edges and corners |
| Flat Brush | Detail work and trim |
| Foam Brush | Small touch-ups |
| Short-Nap Roller | Smooth surfaces |
| Long-Nap Roller | Textured or rough walls |
With the right tools, you’ll master the perfect stroke, making your accent wall truly stand out.
Quality Paint Selection
Ever wonder how the right paint can make your accent wall truly pop? It all starts with choosing high-quality paint. Good paint quality guarantees smooth application and vibrant color, making your wall stand out. Look for paints with a durable finish to withstand daily wear, especially in busy areas. A finish with high durability resists chipping, fading, and stains, keeping your accent wall looking fresh longer. Don’t skimp on brands or formulas—investing in quality paint pays off with a professional look and lasting results. Also, consider the sheen you prefer; matte, eggshell, or semi-gloss each offer different effects and durability levels. Selecting the right paint now sets the foundation for a flawless, eye-catching accent wall that lasts. Proper surface preparation ensures the paint adheres well and results in a smooth, even finish.
Protective Equipment Usage
When starting your painting project, gathering the right protective equipment is vital to keep yourself safe and minimize mess. Wear safety goggles to protect your eyes from splatters and dust. A respirator mask is essential, especially if you’re working with fumes or using spray paint, as it filters out harmful particles and odors. Keep these items within easy reach before you begin. Proper protective gear not only shields you from potential hazards but also helps you focus on your work without worry. Always double-check that your safety goggles fit snugly and your respirator mask is properly secured. Wearing the right equipment ensures you stay safe, comfortable, and ready to achieve a professional-looking accent wall. Additionally, understanding AI vulnerabilities can help you stay informed about potential risks and safety measures related to emerging technologies.

The Wooster Brush Company RR929-9 Super Fab FTP Roller Cover 3/4-Inch Nap, 3-Pack
Shed-resistant and high capacity For Today's Paints; flat, eggshell, satin
As an affiliate, we earn on qualifying purchases.
As an affiliate, we earn on qualifying purchases.
Preparing the Wall Surface for Painting
Before applying paint, you need to guarantee the wall surface is clean, smooth, and free of debris. Start by wiping down the wall with a damp cloth to remove dust and dirt. If there are any imperfections, sand the surface using a fine-grit sandpaper to create a smooth base. Surface sanding helps the primer application adhere better and ensures an even finish. After sanding, wipe away dust with a tack cloth or a damp cloth to prevent particles from sticking to the paint. Proper preparation improves the final look and longevity of your accent wall. To help you remember, here’s a quick overview:
| Step | Tool/Material | Purpose |
|---|---|---|
| Clean the wall | Damp cloth | Remove dust and dirt |
| Sand the surface | Fine-grit sandpaper | Smooth out imperfections |
| Wipe away dust | Tack cloth or damp cloth | Prevent dust from sticking to paint |

LAUCO Premium Respirator Kit – Reusable Half Face Cover Set with Safety Glasses for Gas, Painting, Machine Polishing, Staining, Car Spraying, Sanding & Cutting, DIY and Other Work Protection
Our Premium Respirator Kit offers unparalleled protection for your face and eyes in a wide range of hazardous…
As an affiliate, we earn on qualifying purchases.
As an affiliate, we earn on qualifying purchases.
Measuring and Taping Off the Area
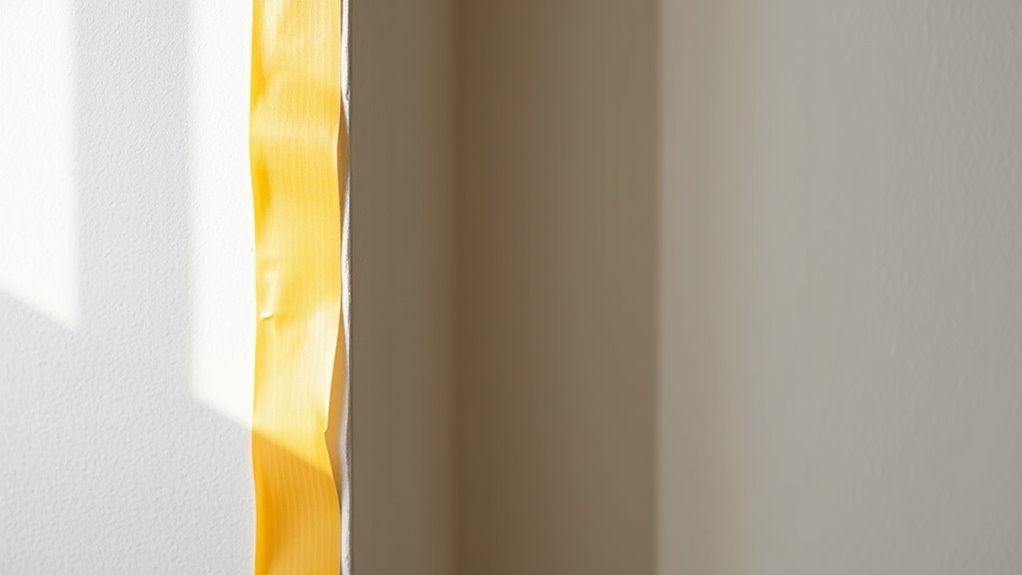
Accurately measuring and taping off the area guarantees clean, crisp lines for your accent wall. Start by using a measuring tape to determine the exact width and height of the section you want to paint. Mark these measurements lightly with a pencil to guide your tape application. When applying tape, make certain it adheres firmly along your marked lines, keeping it straight and taut to prevent paint bleed. Proper tape application relies on measuring accuracy; double-check your marks before sealing them with tape. Take your time to smooth out any air bubbles or wrinkles to achieve sharp, professional-looking edges. This careful approach ensures your accent wall will have clean, defined borders that make the final paint job look polished and intentional. Additionally, choosing high-quality paint and applying it with proper tools can significantly influence the finish and durability of your accent wall.
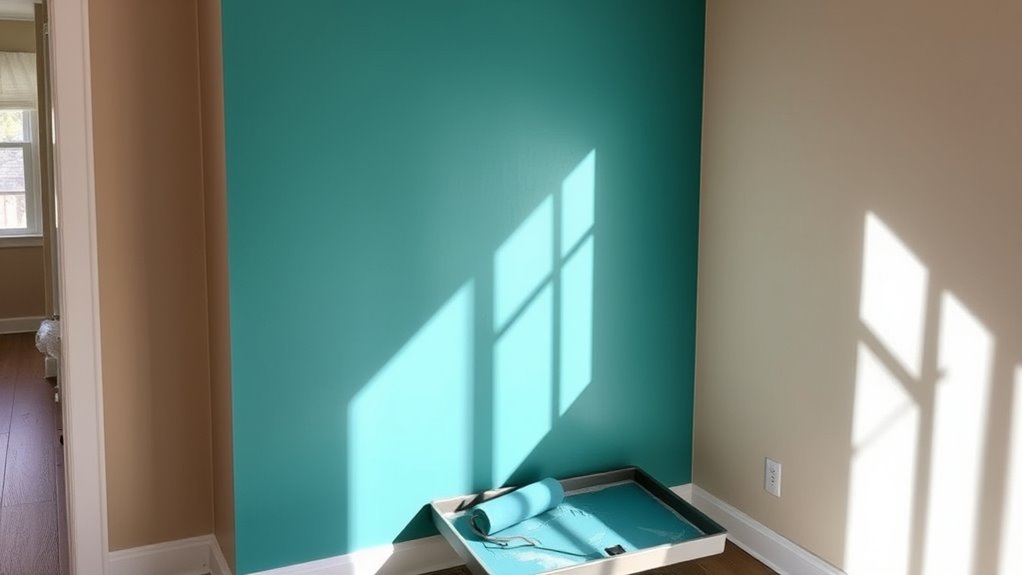
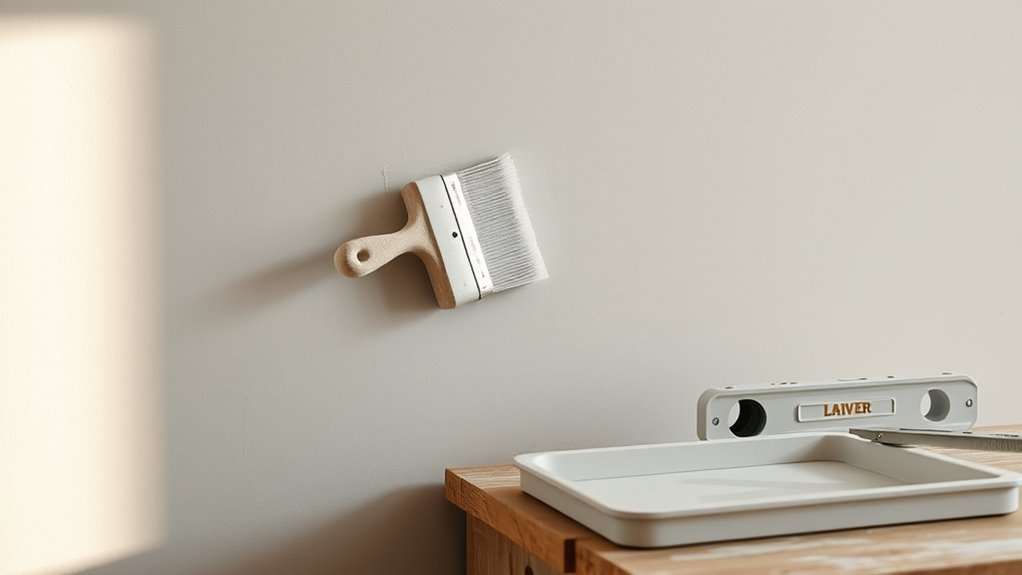
Applying the Base Coat and Letting It Dry

Before applying the base coat, make sure the wall surface is clean and smooth. Use even brush strokes to spread the paint, avoiding streaks and drips. Once you finish, let the coat dry completely before moving on to the next step. Using a high-quality airless paint sprayer can help achieve a smooth finish more efficiently.
Prepare the Wall Surface
To guarantee a smooth and long-lasting finish, start by preparing the wall surface thoroughly. Begin with surface sanding to remove any rough spots, peeling paint, or imperfections that could affect your paint’s adhesion. Once the surface is smooth, apply a primer to ensure even coverage and better paint adhesion. Primer application helps seal the wall, especially if you’re covering a darker color or a glossy finish. Allow the primer to dry completely, following the manufacturer’s recommended drying time. This step creates a clean, uniform base for your accent color, reducing the risk of peeling or uneven spots later. Proper surface preparation with sanding and priming is essential for achieving a professional-looking, durable finish on your accent wall. Fathers’ influence and the encouragement to appreciate the role of fathers in shaping character remind us that attention to detail and careful preparation can lead to a truly impressive result.
Use Even Brush Strokes
Once the primer has dried completely, it’s time to apply the base coat. Use smooth, even brush strokes to guarantee a professional finish. Consistent brush techniques help you avoid streaks and uneven patches. Dip your brush into the paint, removing excess to prevent drips, and focus on maintaining a steady flow of paint on the wall. Keep your strokes parallel and work in small sections, blending each stroke seamlessly into the next. Pay attention to paint consistency; it should be smooth and not too thick or runny. This helps you achieve an even coat and reduces the need for multiple layers. Incorporate wood accents to add authentic farmhouse charm and enhance the overall look. Allow each coat to dry thoroughly before applying the next, which ensures a clean, polished look for your accent wall.
Painting the Accent Wall With Precision
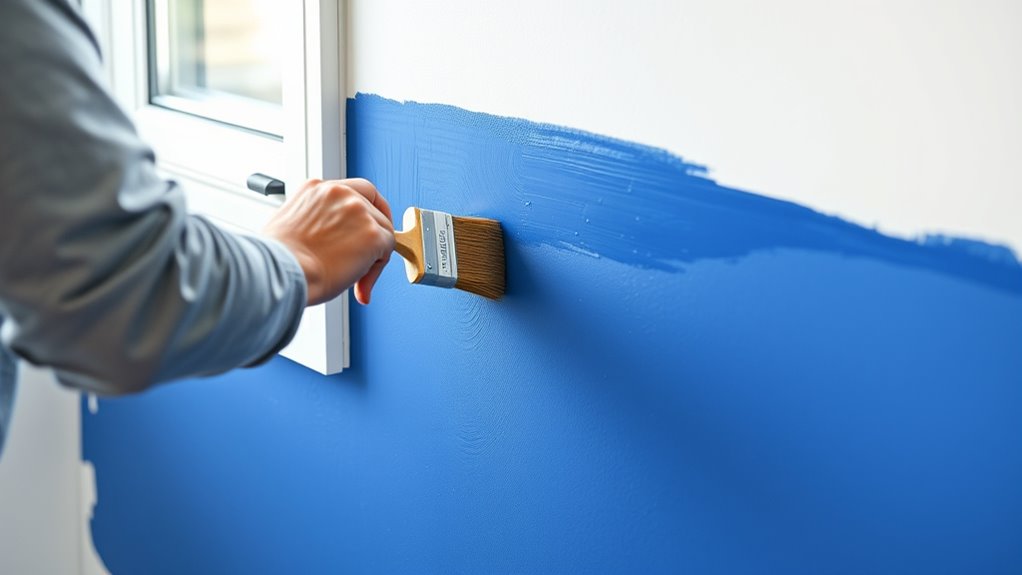
Achieving clean, sharp lines is essential for a professional-looking accent wall, and it starts with careful preparation. Use painter’s tape to mark the edges, ensuring it adheres well to the wall’s surface and matches your wall texture. When painting, focus on steady, controlled strokes to maintain precision. Remember, color psychology plays a role—selecting a color that influences mood and complements your space enhances the impact. Pay close attention to wall texture; rough surfaces may require multiple coats or special techniques like using a thinner brush for detailed areas. Keep your brush or roller perpendicular to the wall for even coverage. Taking your time during this step guarantees crisp lines and a flawless finish, elevating your accent wall to a professional level. Additionally, understanding interior design elements can help you choose the perfect color and style to create a harmonious and inviting space.
Removing Tape and Touching Up Edges
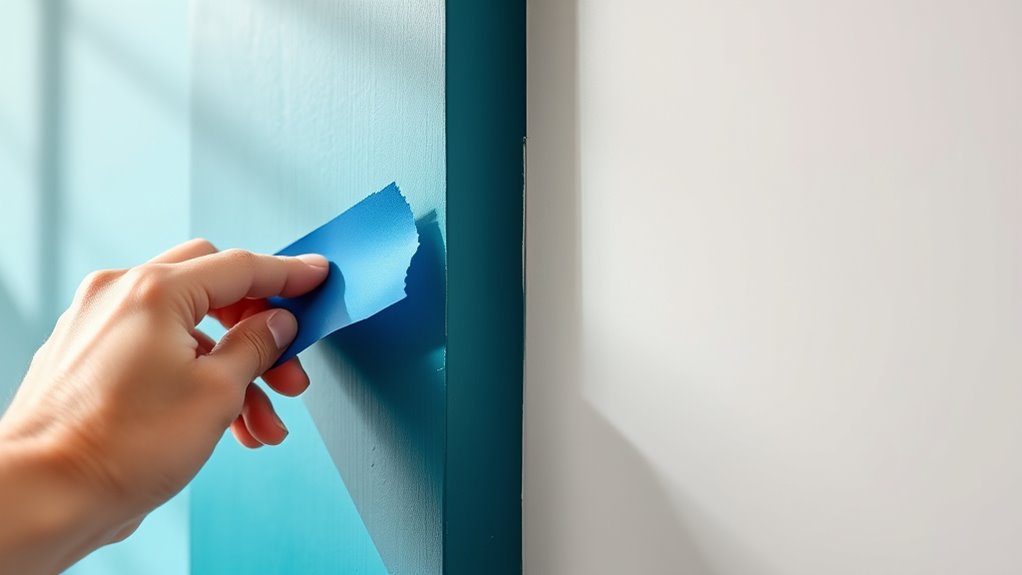
After the paint has dried slightly, carefully remove the painter’s tape to reveal crisp, clean lines. To avoid smudging or peeling, pull the tape back on itself slowly and steadily. Once the tape is removed, inspect the edges for any touch-ups needed. Use a small brush to fix any uneven areas or thin spots for a polished look. Edge touch ups help perfect the sharpness of your accent wall. For best results, keep a damp cloth handy to gently clean any paint smudges or dust before touch-up work. Here’s a visual guide: Visual guide for taping and touch-up.
| Step | Action | Tips |
|---|---|---|
| 1 | Remove tape slowly | Pull at a 45-degree angle |
| 2 | Inspect edges | Look for uneven spots |
| 3 | Touch up with brush | Use precise, light strokes |
| 4 | Clean edges if needed | Damp cloth for neatness |
| 5 | Final check | Ensure crisp, clean lines |
Final Inspection and Clean-Up

With the paintwork complete and edges touched up, it’s time to give your accent wall a thorough inspection. Do a final walkthrough, checking for missed spots, uneven areas, or drips. Use touch-up techniques to correct minor imperfections, ensuring a smooth, professional finish. Look closely at corners and edges to confirm clean lines and consistent coverage. Once satisfied, gather your cleaning supplies—rags, brushes, and touch-up paint if needed. Remove any painter’s tape carefully, pulling it away at a sharp angle to prevent damage. Clean your brushes and rollers immediately to prolong their usability. Finally, step back and admire your work, knowing you’ve executed a flawless accent wall with attention to detail and proper clean-up.
Frequently Asked Questions
How Do I Choose the Best Accent Wall for My Room?
When choosing the best accent wall, think about how color coordination enhances your room’s style. Pick a wall that naturally draws attention, like behind your bed or fireplace. Consider pattern selection if you want extra flair, but keep it balanced with your existing decor. Choose a bold or contrasting color to make it pop, or a subtle shade for a sophisticated look. Trust your taste and create a focal point you love.
Can I Paint an Accent Wall Over Existing Wallpaper?
Think of your wall as a blank canvas waiting to tell a new story. Painting over existing wallpaper is possible, but first, you need to remove any loose wallpaper and thoroughly clean the surface. This guarantees proper paint adhesion and prevents peeling later. If the wallpaper is stubborn, consider using a primer designed for glossy surfaces. With preparation, your new accent wall can shine without the old stories showing through.
What Are the Common Mistakes to Avoid During Painting?
When painting an accent wall, avoid common mistakes like uneven brush strokes and color bleeding. You might rush and not prep the surface properly, leading to streaks or bleeding of colors. Always use painter’s tape for clean edges and let each coat dry thoroughly. Don’t press too hard with your brush, which can cause streaks, and be mindful of overlapping wet paint to prevent color bleeding. Proper prep and patience make a smoother finish.
How Long Should I Wait Before Moving Furniture Back?
Patience pays off when waiting to move furniture back after painting. You should allow the paint’s drying time to fully pass—usually at least 24 hours—to prevent smudges or smears. Rushing to rearrange furniture cuts the cure short, risking damage. So, pause patiently, give the paint plenty of time to dry completely, and then carefully place your furniture, ensuring your beautiful accent wall stays pristine and perfect.
What Tools Can Help Create a Professional Finish?
To achieve a professional finish, start with the right tools. Choose a high-quality brush suited for the wall’s texture to guarantee smooth, even strokes. Use painter’s tape to create clean, sharp edges and prevent paint bleed. A small angled brush works well for detailing, while larger brushes or rollers cover broad areas efficiently. These tools help you attain crisp lines and a flawless look, making your accent wall stand out beautifully.
Conclusion
Now that you’ve painted your accent wall like a pro, think of it as tending a garden—you’ve carefully nurtured each step to reveal vibrant, lush results. With patience and attention, you’ve transformed a blank space into a focal point that breathes new life into your room. Keep nurturing your skills, and your home will continue to blossom with style and personality. Your perfect wall is now a masterpiece growing from your dedication.