
To install a kitchen tile backsplash, start by measuring your space accurately and selecting your tile pattern and grout color. Prepare the wall by marking a level guide, then apply tile adhesive in small sections. Place the tiles carefully, maintaining consistent gaps with spacers. Once the adhesive cures, spread grout into the joints, wipe off excess, and seal the grout for durability. Following these steps will help you achieve a professional finish—continue to learn more for detailed guidance.
Key Takeaways
- Measure the area accurately and plan the tile layout, marking a straight guide for alignment.
- Select a tile pattern and grout color that complement your kitchen style and visualize the layout before installation.
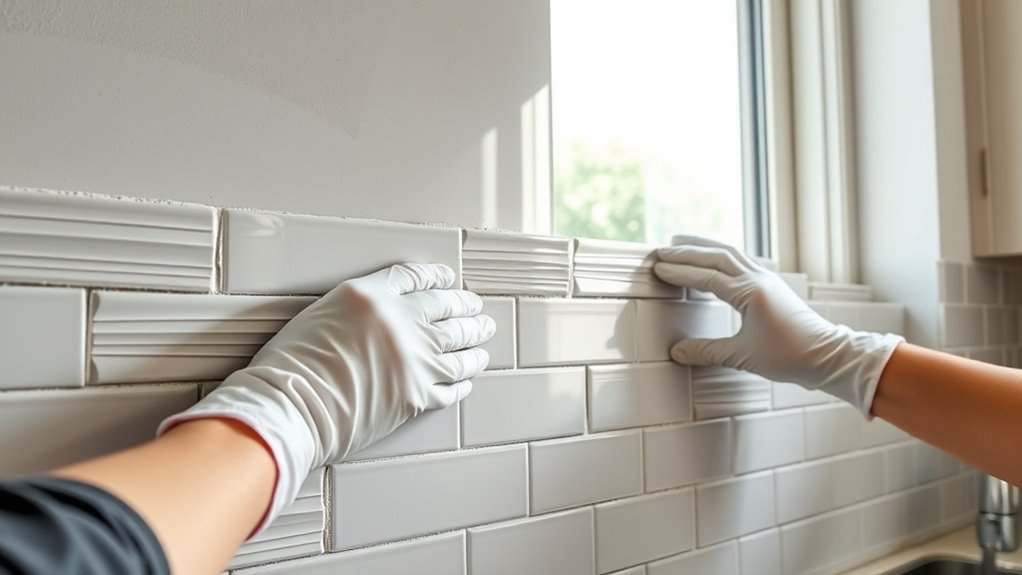
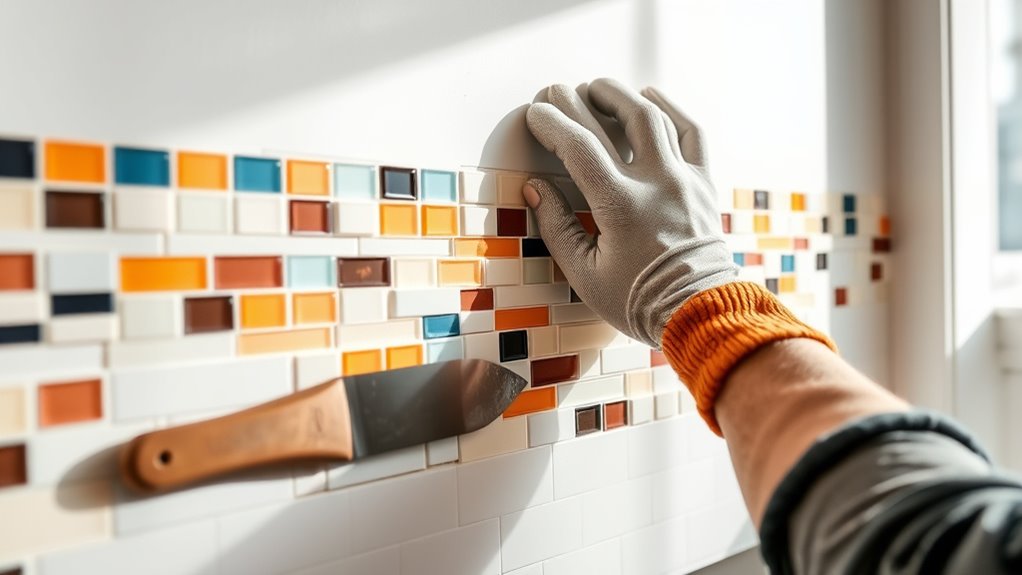
- Apply tile adhesive in small sections, place tiles using spacers, and ensure they are level and aligned.
- Allow the adhesive to cure fully, then spread grout into the joints, removing excess with a damp sponge.
- Seal grout lines after drying to protect against stains and moisture, completing the backsplash installation.
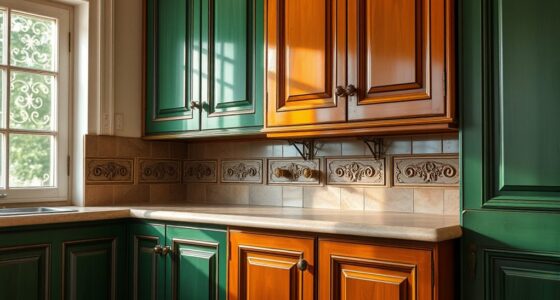
Installing a tile backsplash in your kitchen is a rewarding project that can transform the space and protect your walls from spills and splashes. One of the first choices you’ll need to make is selecting the grout color. Grout acts as the adhesive between your tiles and plays an essential role in the overall look. A contrasting grout color can make your tile pattern stand out, highlighting the design and adding depth. Conversely, a matching grout can create a seamless appearance, making the backsplash look more uniform and polished. Consider the style of your kitchen and the tile pattern you’ve chosen when deciding on the grout color. If you opt for a busy tile pattern, a neutral grout might help tone down the visual complexity. For simpler tile designs, bold grout colors can add a pop of personality.
Once you’ve selected your grout color, it’s time to focus on the tile pattern. The pattern you choose will define the visual rhythm of your backsplash. Popular options include straight lay, herringbone, diagonal, or staggered running bond. If you prefer a classic look, a straight lay pattern might suit you best. For something more dynamic, a herringbone or chevron pattern can introduce movement and interest. When planning your tile pattern, lay out a few tiles on a flat surface first to visualize how they’ll look, especially if you’re mixing different colors or sizes. This step helps guarantee that the pattern aligns with your design vision before you commit to the layout.
Before starting the installation, measure the space carefully to determine the number of tiles needed, accounting for cuts and waste. Mark your starting point at the center of the wall or above the stove to keep the pattern symmetrical and balanced. Use a level and chalk line to create a guide, ensuring your tiles are straight. Apply a thin layer of tile adhesive with a notched trowel, working in small sections to prevent it from drying out. Place the tiles according to your chosen pattern, pressing firmly and using spacers to maintain consistent gaps for grout. Once all tiles are set, allow the adhesive to cure according to the manufacturer’s instructions before applying grout. When grouting, choose your grout color carefully; it can either blend seamlessly or create a striking contrast with your tiles. Use a rubber float to spread the grout, pressing it into the joints, then wipe away excess with a damp sponge. After the grout has dried, seal your grout lines to protect against stains and moisture, making sure your backsplash stays beautiful for years to come. Additionally, understanding the materials used in tile and grout can help you select options that are more durable and easier to maintain over time.
MusselBound® Adhesive Tile Mat with Spacers – a Strong Double-Sided Adhesive that Replaces Messy Mortar. Clean, Easy, No-Stress Way to Install Real Wall Tile. Lower Total Cost Than Peel & Stick Tiles
PROVEN – MILLIONS OF SQ FT INSTALLED OVER 15 YEARS !!!
As an affiliate, we earn on qualifying purchases.
As an affiliate, we earn on qualifying purchases.
Frequently Asked Questions
What Type of Tile Is Best for a Kitchen Backsplash?
When choosing a tile for your kitchen backsplash, consider ceramic versus glass tiles. Ceramic is durable, easy to clean, and budget-friendly, making it a popular choice. Glass tiles add a sleek, modern look but can be more fragile and pricier. Also, decide between matte and glossy finishes; matte hides fingerprints and smudges, while glossy reflects light, making your space feel brighter. Pick what suits your style and needs best.
How Long Does It Take to Install a Tile Backsplash?
The installation timeline for a tile backsplash typically takes 1 to 3 days, depending on your project size and tile type. You’ll spend a day preparing the wall, laying the tiles, and grouting. Keep in mind, curing time is essential—usually 24 to 48 hours—before you can use the area. Patience guarantees your backsplash stays durable and looks great long-term.
Can I Install a Backsplash Over Existing Tile?
You can install a backsplash over existing tile if it’s in good shape, but first, you should assess whether to remove old tile or choose tile patterns that will complement or cover the current surface. Removing old tile guarantees a smoother base, but if the existing tile is secure, you can clean and prepare it for new installation. Just make sure to use proper adhesive and consider how the new design aligns with your kitchen’s style.
What Tools Are Essential for Tile Backsplash Installation?
Think of your tools as your trusted crew for the job. You’ll need a tile saw to cut tiles precisely and a grout float to spread grout evenly. A notched trowel helps apply adhesive smoothly, while a level ensures your tiles stay straight. Don’t forget safety gear like goggles and gloves. With these essentials, you’re prepared to turn your backsplash vision into a stunning reality.
How Do I Clean and Maintain My Tiled Backsplash?
To keep your tiled backsplash looking its best, follow simple cleaning tips like wiping it regularly with a soft cloth and a mild detergent. Avoid abrasive cleaners that can damage the tiles or grout. Maintain your backsplash with routine inspections for cracks or stains, and re-seal grout lines if needed. Consistent maintenance routines guarantee your backsplash stays clean, vibrant, and protected from moisture and grease buildup.
PentaUSA Tile Grout Repair Kit – White Premixed Acrylic Sanded Grout Filler for Bathroom, Shower, and Kitchen, Water-Resistant Tube with Applicator, Fills Cracks and Gaps, Fast Drying (8.8oz / 250g)
Acrylic Sanded Grout Filler That Cures Into Solid Grout – This premixed tile grout repair contains acrylic sanded…
As an affiliate, we earn on qualifying purchases.
As an affiliate, we earn on qualifying purchases.
Conclusion
Now that you’ve completed your tile backsplash, it’s like giving your kitchen a fresh, stylish coat of armor. With patience and attention to detail, you’ve transformed a plain wall into a stunning focal point. Remember to seal the grout to keep it looking pristine, and enjoy your handiwork every time you cook or entertain. Just like a well-crafted piece of art, your backsplash showcases your effort and taste, making your kitchen uniquely yours.

Honoson 500 Pieces Wide Tile Spacers Tiles Leveler Spacers Replaceable Levelers Wall Floor Cross for Ceramic Tile and Stone Installation(1/16 Inch)
Material and size: the tile spacer is made of sturdy and hard PVC plastic, which is solid and…
As an affiliate, we earn on qualifying purchases.
As an affiliate, we earn on qualifying purchases.
LXUEJIE 4 PCS Adhesive Spreader, 3/16" Tooth Notched Glue Applicator Kits Reusable Notched Glue Spreader Hardwood Flooring Spreaders Plastic Notch Trowel for Applying Glue Epoxy PET Putty
【For Epoxy Projects】: For spreading epoxy evenly, using the glue trowel will actually remove a lot of air…
As an affiliate, we earn on qualifying purchases.
As an affiliate, we earn on qualifying purchases.