
To lay peel-and-stick floor tiles, start by cleaning, drying, and leveling your subfloor. Measure the space carefully and plan your layout, using chalk lines or grids to verify straight lines. Peel off the backing and press each tile firmly into place, aligning them accurately to create seamless patterns. Work slowly and check your progress often. For more tips on achieving a professional look, keep exploring the best practices for the project.
Key Takeaways
- Prepare the subfloor by cleaning, drying, and leveling it to ensure proper tile adhesion.
- Measure the space accurately and plan your layout, creating guides like chalk lines for alignment.
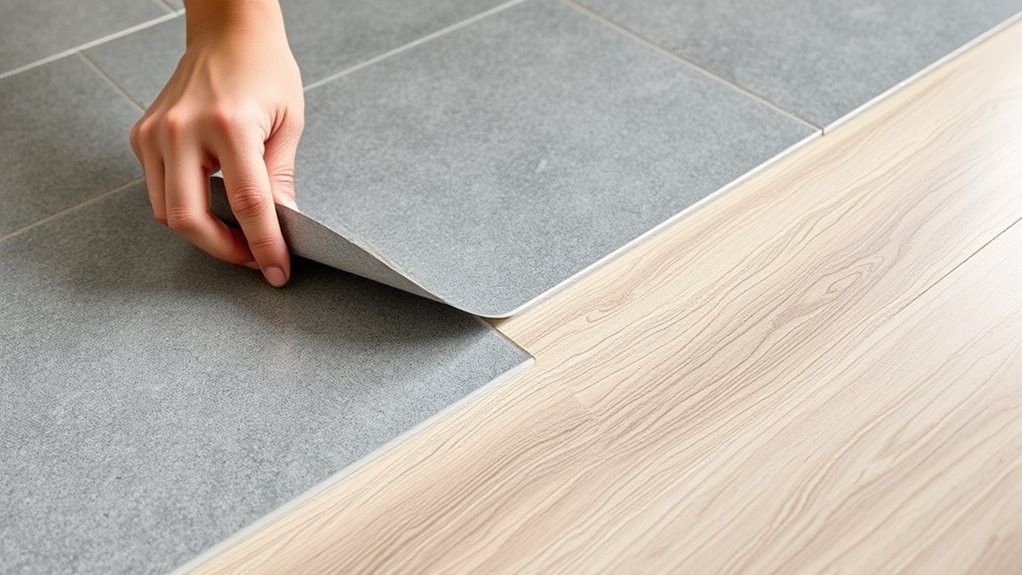
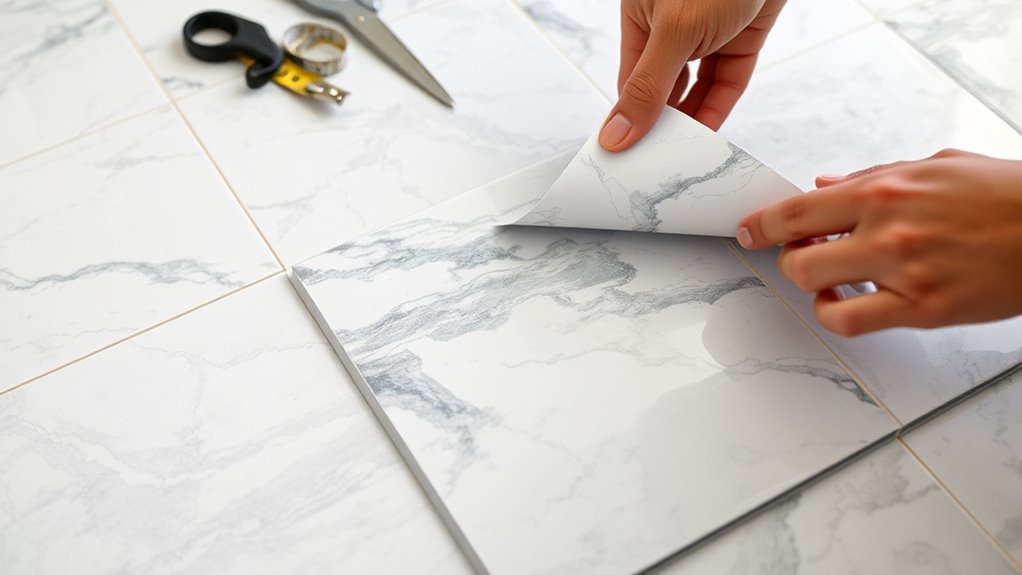
- Peel off the backing and carefully press each tile onto the surface, aligning them precisely.
- Work slowly, pressing firmly to eliminate air bubbles and maintain straight, even rows.
- Double-check your placement before fully adhering, and keep the workspace clean for best results.
If you’re looking to update your home without breaking the bank, DIY flooring is a smart and rewarding project. One of the easiest ways to do this is by installing peel-and-stick floor tiles. Before you start, it’s vital to focus on material selection. Choose tiles that suit your space’s style and your lifestyle. For instance, if you’re aiming for a modern look, opt for sleek, minimalistic designs. If your home has a rustic vibe, wood-look or textured tiles can complement that aesthetic. Consider the durability and ease of maintenance as well. Vinyl tiles are popular because they’re resistant to moisture and scratches, making them ideal for kitchens and bathrooms. When selecting your materials, also think about the size and pattern of the tiles. Larger tiles can make a small room feel more spacious, while intricate patterns can add visual interest to a larger area. Additionally, understanding the material properties of your tiles can help ensure longevity and proper care over time. Design inspiration plays a vital role in guiding your choices. Take a moment to browse online platforms, home decor magazines, or visit showrooms to gather ideas. Pay attention to color schemes, tile patterns, and how different designs can transform your space. Once you have a clear vision, you’ll find it easier to select tiles that match your aesthetic. Remember, the goal is to create a cohesive look that reflects your personality and complements existing decor. If you’re unsure about color combinations or style, don’t hesitate to pick a few samples and lay them out temporarily to see how they look in your space. This trial step can save you from costly mistakes later. When it comes to installation, proper material selection makes the process smoother. Make sure your subfloor is clean, dry, and level before you start. Peel-and-stick tiles come with an adhesive backing, but you should still prepare the surface for maximum adhesion. Measure your space carefully and plan your layout to minimize cuts and awkward placements. You might find it helpful to create a grid or chalk lines as guides. As you peel and stick each tile, press firmly to ensure a good bond and prevent air bubbles. Take your time aligning tiles accurately to keep the pattern seamless. With patience and attention to detail, the result will be a beautiful, durable floor that you installed yourself, saving money and gaining a sense of accomplishment.

Nexus Self Adhesive 12-Inch Vinyl Floor Tiles, 20 Tiles – 12" x 12", Bianco Marble Pattern – Peel & Stick, DIY Flooring for Kitchen, Dining Room, Bedrooms & Bathrooms by Achim Home Decor
Nexus Vinyl Tiles: Refresh your home for a low cost and no hassle with the Nexus Vinyl Floor…
As an affiliate, we earn on qualifying purchases.
As an affiliate, we earn on qualifying purchases.
Frequently Asked Questions
Can Peel-And-Stick Tiles Be Used Outdoors?
Peel-and-stick tiles are generally not suitable for outdoor use because they lack outdoor durability and weather resistance. Exposure to moisture, sun, and temperature fluctuations can cause the tiles to peel, warp, or deteriorate quickly. If you want durable outdoor flooring, look for tiles specifically designed for exterior conditions, which offer better weather resistance and can withstand the elements without damage.
How Do I Remove Damaged Tiles Without Damaging the Floor?
Did you know that 75% of homeowners replace damaged tiles within five years? To remove damaged tiles without harming the floor, gently lift the edges with a plastic scraper or putty knife. Apply heat with a hairdryer to loosen adhesive, then carefully peel the tile away. For damage repair, clean the area thoroughly before reapplying new tiles, ensuring a smooth finish and preventing further damage.
Are Peel-And-Stick Tiles Suitable for High-Moisture Areas?
You might wonder if peel-and-stick tiles work well in high-moisture areas. While some tiles offer good moisture resistance, their overall tile durability varies. For wet locations like bathrooms or kitchens, choose tiles specifically designed for moisture, ensuring they won’t peel or warp. Proper prep and sealing can enhance their performance, making them a practical choice if you select tiles formulated for high humidity environments.
What Tools Are Necessary for Precise Cutting and Installation?
For precise cutting and installation, you’ll need measuring tools like a tape measure and a square to guarantee accurate tile placement. Cutting equipment such as a utility knife or a tile cutter helps you make clean, straight cuts. Using these tools, you can easily trim tiles to fit edges and corners, achieving a professional look. Always double-check measurements before cutting to avoid mistakes and guarantee a smooth, seamless finish.
How Long Do Peel-And-Stick Tiles Typically Last?
Sometimes, the true measure of a project reveals itself over time. Peel-and-stick tiles generally offer good tile durability, lasting around 5 to 10 years if well-maintained. Their adhesive longevity depends on factors like surface prep and foot traffic. With proper care, you can enjoy a fresh look longer. Keep in mind, occasional touch-ups might extend their lifespan, making your investment more rewarding over the years.
Nexus Self Adhesive 12-Inch Vinyl Floor Tiles, 20 Tiles – 12" x 12", Bianco Marble Pattern – Peel & Stick, DIY Flooring for Kitchen, Dining Room, Bedrooms & Bathrooms by Achim Home Decor
Nexus Vinyl Tiles: Refresh your home for a low cost and no hassle with the Nexus Vinyl Floor…
As an affiliate, we earn on qualifying purchases.
As an affiliate, we earn on qualifying purchases.
Conclusion
Now that you’ve mastered the art of laying peel-and-stick tiles, your floor is transformed into a stunning masterpiece—quicker than you ever imagined. With patience and precision, you’ve turned a simple DIY project into a breathtaking upgrade that’ll impress everyone who steps foot on it. Remember, your new floor isn’t just a surface; it’s a proof to your skills and creativity. So go ahead, enjoy your beautifully revamped space—your home just got a whole lot more amazing!

Art3d Smoothing Tool Kit for Applying Peel and Stick Wallpaper, Vinyl Backsplash Tile
【Set of basic tools】: Package includes craft art knife with 5 replaceable blades, red smoother, blue smoother with…
As an affiliate, we earn on qualifying purchases.
As an affiliate, we earn on qualifying purchases.
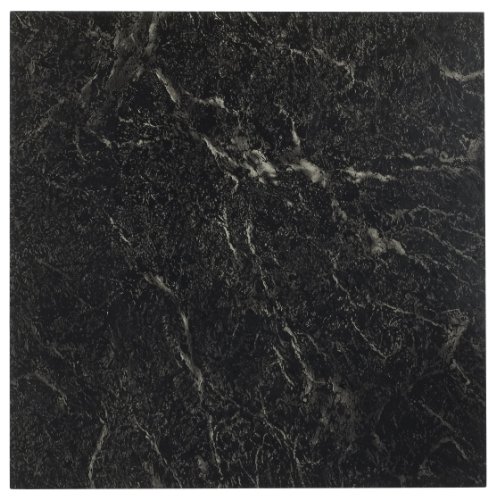
Nexus Self Adhesive 12-Inch Vinyl Floor Tiles, 20 Tiles – 12" x 12", Black w/White Vein Marble Pattern – Peel & Stick, DIY Flooring for Kitchen, Dining Room, Bedrooms & Bathrooms by Achim Home Decor
Nexus Vinyl Tiles: Refresh your home for a low cost and no hassle with the Nexus Vinyl Floor…
As an affiliate, we earn on qualifying purchases.
As an affiliate, we earn on qualifying purchases.