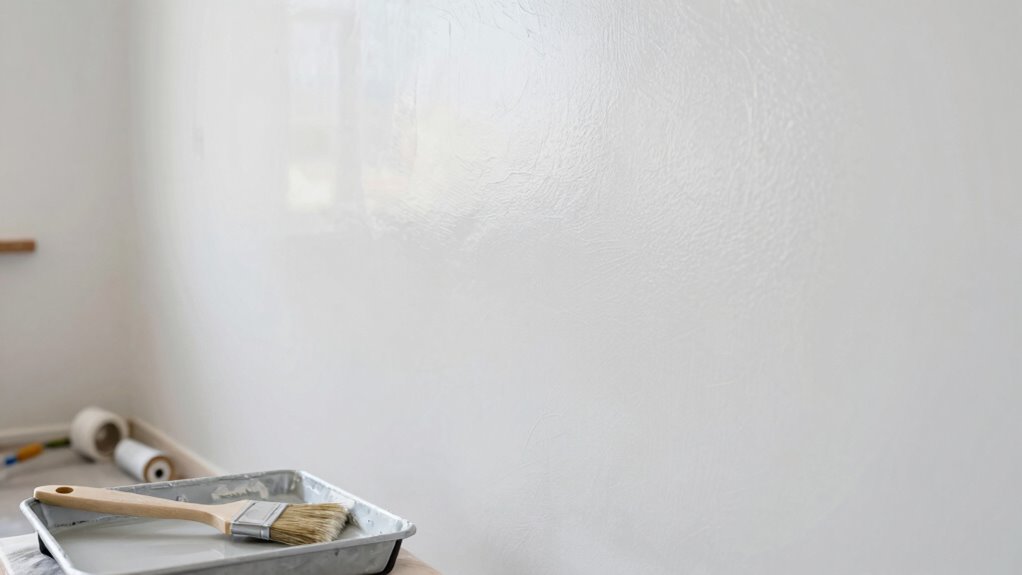

Start your home makeover by painting the ceilings first; this sets a clean foundation and prevents drips from impacting your walls. Once the ceilings are dry, you can move on to walls, scegliere the right colors and finishes for each space. Proper planning and preparation guarantee a polished look, saving you time and effort. If you want to learn more about the best order for your project, keep exploring the tips ahead.
Key Takeaways
- Start with ceilings to prevent drips from damaging walls later.
- Paint walls in high-visibility areas first for immediate visual impact.
- Prioritize rooms with the biggest transformation or focus areas.
- Use painter’s tape to define edges and ensure clean lines during the process.
- Finish with touch-ups and detail work after larger surfaces are completed.
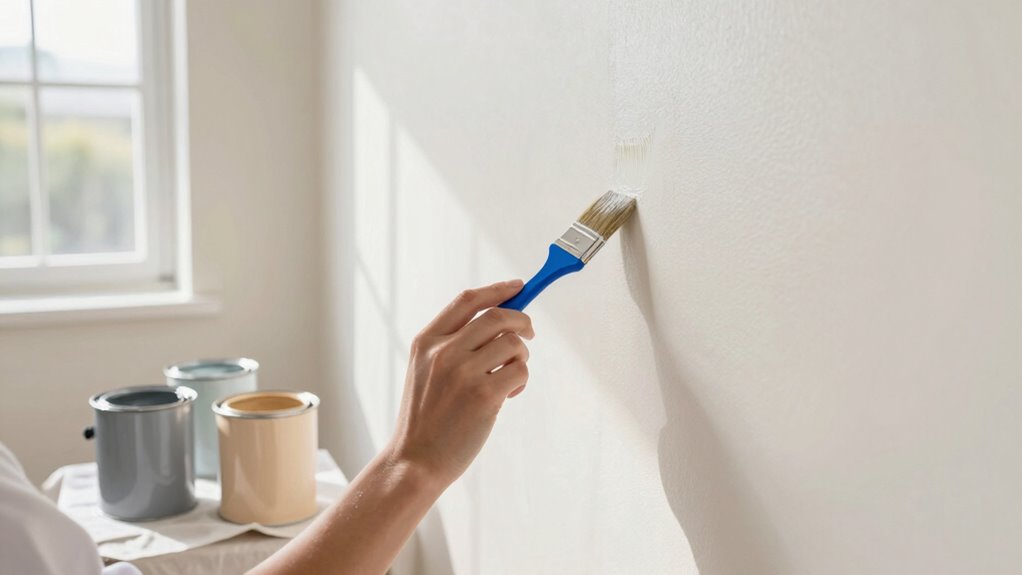
Are you wondering where to begin your home makeover project? Starting can feel overwhelming, but the key is to prioritize what makes the biggest visual impact first. The best place to begin is often with the walls, because they set the tone for the entire space. When deciding what to paint first, consider your overall color schemes and the types of paint you’ll use. Choosing the right color schemes helps create harmony throughout your home, so think about whether you want bold, vibrant hues or soft, neutral tones. Once you’ve nailed down your color palette, you can select paint types that suit each room’s needs. For example, rooms like kitchens and bathrooms benefit from moisture-resistant paints, while bedrooms might be better suited to matte finishes that create a cozy feel.
Your choice of paint types influences how you approach the project, especially in terms of preparation and application. For high-traffic areas, durable and washable paints are ideal, so you won’t have to worry about wear and tear over time. If you’re working with textured or uneven walls, consider primers and paints designed to smooth out imperfections. Knowing the differences between paint finishes—such as matte, satin, semi-gloss, or gloss—helps you decide which look and durability level works best for each space. Matte finishes hide flaws well and give a soft, modern appearance, while semi-gloss and gloss reflect more light and are easier to clean, making them suitable for kitchens and bathrooms. Additionally, understanding paint finishes can help you make more informed choices about the aesthetics and practicality of each room. When you start your project, it’s wise to paint the ceilings first. This way, if any drips or splatters happen, they won’t ruin your freshly painted walls. After the ceilings, move on to the walls, applying painter’s tape along edges to keep lines sharp and neat. If you’re working with multiple rooms, consider painting in sections, so you can focus on one space at a time without feeling overwhelmed. Keep in mind that lighter colors tend to make rooms feel larger and more open, while darker shades add drama and coziness—choose according to your desired atmosphere. To ensure a professional-looking finish, don’t forget to prepare your surfaces properly before applying paint. Also, be mindful of the entire painting process, including proper ventilation and safety precautions, to achieve the best results. Remember to allow enough drying time between coats, especially if you’re switching between different paint types or finishes.
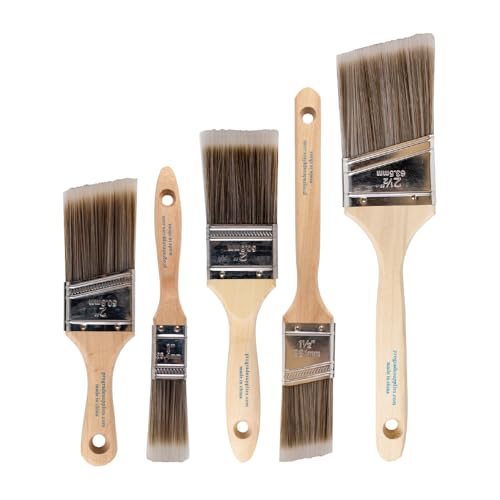
Pro Grade Paint Brushes, Paint Brush Set for Walls, Trim & Stain, 5-Piece
- Complete 5-Piece Set: Includes various sizes for all painting tasks
- Professional Grade Performance: High-quality brushes at a fraction of store prices
- Zero Bristle Loss: Secure adhesive bonding prevents bristle shedding
As an affiliate, we earn on qualifying purchases.
As an affiliate, we earn on qualifying purchases.
Frequently Asked Questions
How Do I Choose the Right Paint Colors for My Home?
To choose the right paint colors, start by considering color psychology to evoke the mood you want, like calm or energy. Next, assess your lighting considerations—natural light makes colors appear brighter, while artificial light can alter tones. Test small patches in different rooms at various times of day to see how colors respond to lighting. Trust your instincts and select shades that reflect your personality and complement your space.
What Tools Are Essential for Painting a Home?
Think of painting tools as your magic wand for transforming your space. You’ll need a variety of essential tools like brushes for smooth brush strokes, rollers for covering large areas, painter’s tape to keep lines crisp, and a tray for easy paint access. Don’t forget to choose the right paint finishes for each surface. These tools help you achieve professional-looking results and turn your home into a masterpiece with ease.
How Long Should I Wait Between Coats of Paint?
You should wait at least 2-4 hours between coats of paint, but always check the paint’s drying time on the label. To guarantee a smooth finish, use proper brush techniques and avoid rushing the process. Rushing can lead to uneven coverage or smudges. Patience is key—wait until the paint feels dry to the touch and is no longer tacky before applying the next coat for the best results.
Can I Paint Over Wallpaper or Should I Remove It First?
You should remove wallpaper before painting, as paint over wallpaper often results in poor adhesion and bubbling. Wallpaper removal creates a smooth, clean surface, ensuring your new paint looks professional and lasts longer. If removal isn’t feasible, consider applying a primer designed for wallpaper. However, for best results, stripping the wallpaper first is the safest option, providing a better foundation for your home makeover project.
What Are the Best Techniques for Painting Ceilings?
To paint ceilings effectively, start with smooth brush techniques along the edges using an angled brush to avoid splatters. For textured ceilings, use a roller with a thick nap to get into crevices and uneven surfaces. Work in manageable sections, maintaining a wet edge for a seamless look. Always keep a steady hand, and use even strokes to guarantee consistent coverage across different ceiling textures.

Scotch Blue Painters Tape Applicator, Applies Painter's Tape in One Continuous Strip, Paint Tape Applicator for Trim, Windows and Door Frames, 1.41 Inches x 20 Yards, 1 Starter Roll (TA3-SB-ESF)
- Performance: Faster, precise application than hand-application
- Application: Applies tape in one continuous strip
- Ease of Use: Comfortable circular grip with felt pad
As an affiliate, we earn on qualifying purchases.
As an affiliate, we earn on qualifying purchases.
Conclusion
When tackling a home makeover, think of it like painting a masterpiece—you want to start with the background before adding the fine details. By prioritizing walls and ceilings first, you prevent accidental drips on freshly painted surfaces. Remember, a well-planned sequence keeps your project smooth and stress-free. So, set your foundation right, and everything else will fall beautifully into place—like the perfect brushstroke on a blank canvas. Happy painting!

Zinsser 02774 PERMA-WHITE Mold & Mildew Proof Interior Paint, Quart, Eggshell White
- Self-Priming Formula: No sanding required
- Mold & Mildew Proof: Guaranteed 5-year protection
- Resists Dirt & Moisture: On the paint film
As an affiliate, we earn on qualifying purchases.
As an affiliate, we earn on qualifying purchases.

Wall Textured Paint, Cover up Wall Surface Defects (Grey)
- Includes Texture Roller: Create artistic wall textures easily
- Conceals Wall Imperfections: Hides cracks, dents, stains effectively
- Indoor and Outdoor Use: Suitable for various environments and surfaces
As an affiliate, we earn on qualifying purchases.
As an affiliate, we earn on qualifying purchases.