
To reupholster a chair yourself, start by gathering your supplies such as fabric, padding, a staple gun, scissors, and tacks, and prepare a clean, spacious workspace. Carefully remove the old fabric, then measure and cut new fabric and padding with extra allowances. Secure the new cover by stretching it snugly over the frame and stapling from the center outward, adding decorative touches for a polished look. Keep going, and you’ll master the entire process step by step.
Key Takeaways
- Gather all necessary tools and fabric, then clear and organize your workspace for efficient work.
- Carefully remove old fabric and padding using appropriate tools without damaging the chair frame.
- Measure, cut, and attach new padding and fabric, ensuring a snug fit with staples and tacks.
- Secure fabric evenly, starting from the center, and keep it taut for a smooth, professional look.
- Add finishing touches like trimming, decorative piping, and double-check staples for a polished result.
Gathering Your Supplies and Preparing the Workspace
Before you begin reupholstering your chair, it is vital to gather all the necessary supplies and set up a clean, organized workspace. Start by choosing the fabric selection that suits your style and the chair’s use. Consider durability, color, and texture to guarantee a good match. Next, gather tools like a staple gun, scissors, screwdrivers, and upholstery tacks. Keep all supplies within reach to streamline the process. Workspace organization is essential; clear a large, flat area where you can work comfortably and spread out your materials. A tidy space prevents losing small items and helps you stay focused. Additionally, understanding the importance of projector setup can help you create a comfortable viewing environment if you plan to incorporate your reupholstered chair into a home theater space. Once everything is prepared, you’ll be ready to carefully remove the old fabric and proceed with reupholstering your chair efficiently.
Removing the Old Upholstery Carefully
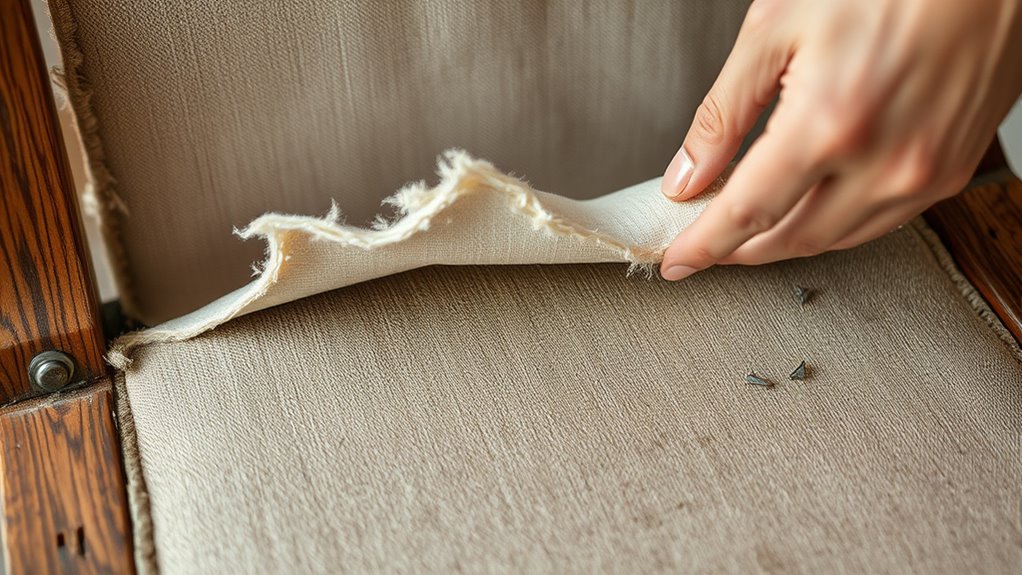
To remove the old upholstery effectively, start by inspecting the chair carefully to identify how the fabric is attached. Check for staples, tacks, or glue holding the fabric in place. Use your tool checklist to gather essentials like a staple remover, pliers, screwdriver, and scissors. Be gentle to avoid damaging the frame or padding underneath. As you peel back the fabric, keep a close eye on how it’s attached; this will help when you’re attaching new fabric later. Consider fabric selection carefully—look for old staples or tacks that might snag new material. Also, have a trash bag nearby to discard the old fabric efficiently. Taking your time now prevents damage and makes reupholstering smoother. Remember, understanding the attachment methods used will make the reupholstery process much more manageable.
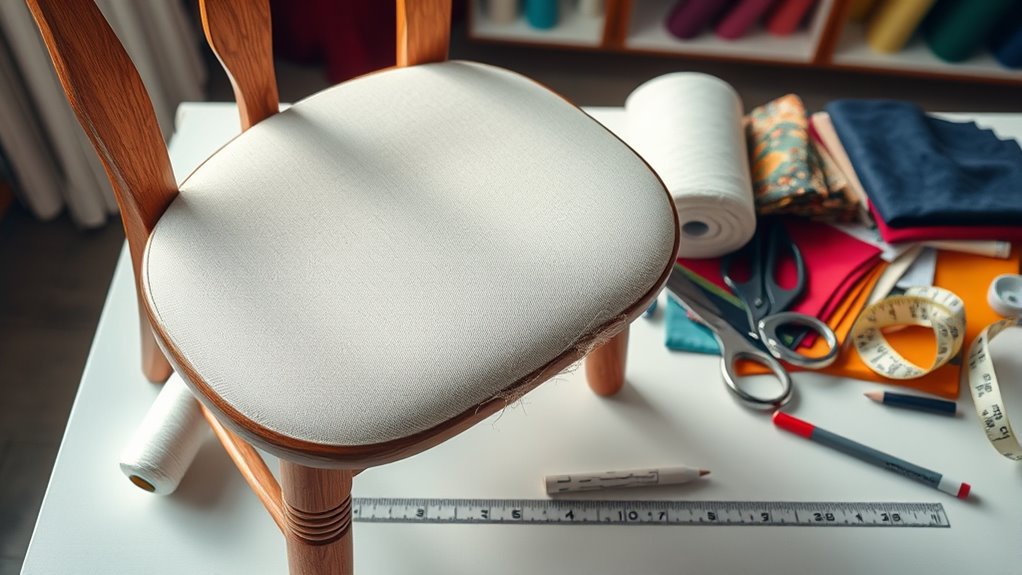
Measuring and Cutting New Fabric and Padding
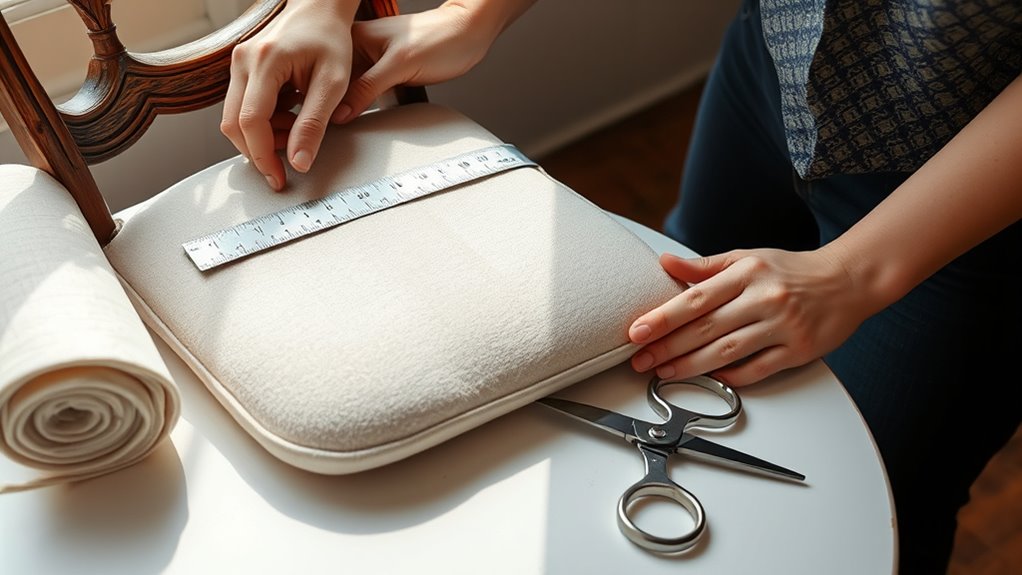
Once you’ve removed the old upholstery, you can move on to measuring and cutting your new fabric and padding. Start by carefully measuring each section of your chair to ensure a precise fit. When selecting fabric, consider durability and style to match your decor. Use your measurements to cut the fabric, adding a few extra inches around the edges for seam allowances. For padding, choose the right type—foam, batting, or felt—based on comfort and support needs. Cut the padding to match each section, making sure it’s slightly smaller than the fabric to avoid bunching. Keep your cuts clean and straight for a professional look. Accurate measuring and careful cutting lay the foundation for a smooth, polished reupholstering process. Incorporating leadership skills such as attention to detail and planning can help ensure a successful project outcome.
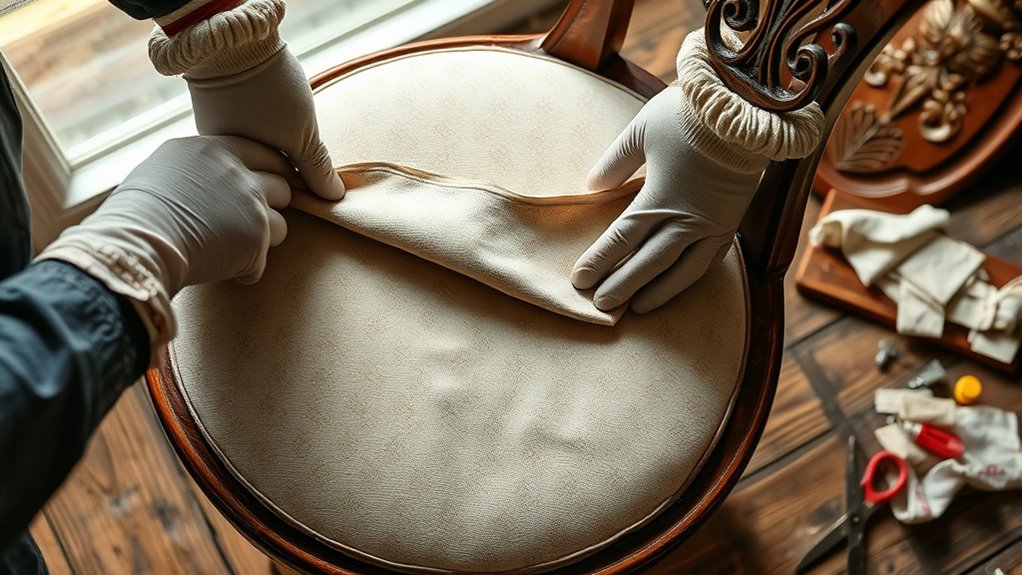
Attaching the New Cover and Securing It Properly
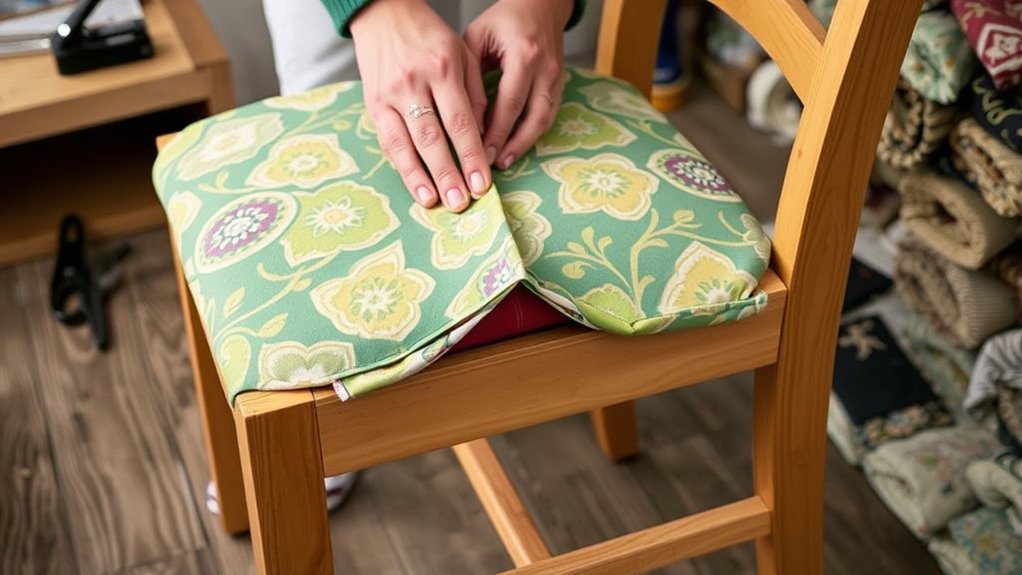
As you begin attaching the new cover, make sure it fits snugly over the padding and frame. Start by securing one side with fabric staples, pulling the fabric smooth as you go. Use a staple gun to fasten the fabric firmly, spacing staples about an inch apart. For a more decorative look, add upholstery tacks along the edges, pressing them into the frame to hold the fabric securely. Keep these tips in mind:
- Work from the center outward to avoid puckering
- Keep the fabric taut but not stretched too tight
- Remove and reposition staples if needed for a perfect fit
- Use upholstery tacks at corners for extra reinforcement
- Incorporate vintage furniture elements to enhance the farmhouse aesthetic and add character to your project
These steps ensure your chair’s new cover stays in place and looks professional.
Finishing Touches and Tips for a Professional Look
Achieving a polished, professional look involves paying attention to small details that make a big difference. Start by carefully selecting fabric that complements your chair’s style and your decor. Choose upholstery fabric with the right durability and texture for your needs. When finishing, use quality upholstery tools like staple removers, tack pullers, and a staple gun to guarantee clean, secure edges. Trim excess fabric neatly and smooth out any wrinkles or puckers for a seamless finish. Double-check all staples and tacks to confirm they’re flush and secure. Adding decorative trim or piping can enhance the overall appearance, giving your project a refined touch. Proper fabric selection and attention to detail ensure a high-quality, professional appearance. These finishing touches elevate your reupholstered chair from DIY to professional-looking, making your effort truly stand out.
Frequently Asked Questions
How Do I Choose the Right Fabric for Reupholstery?
When choosing fabric for reupholstery, consider your room’s decor and your personal style. Pick fabric patterns that complement existing furniture, avoiding overly busy designs if your space is already lively. Focus on color coordination to guarantee your new chair blends seamlessly. Think about durability, especially if the chair gets lots of use. Ultimately, choose a fabric that reflects your taste while enhancing your space’s overall look.
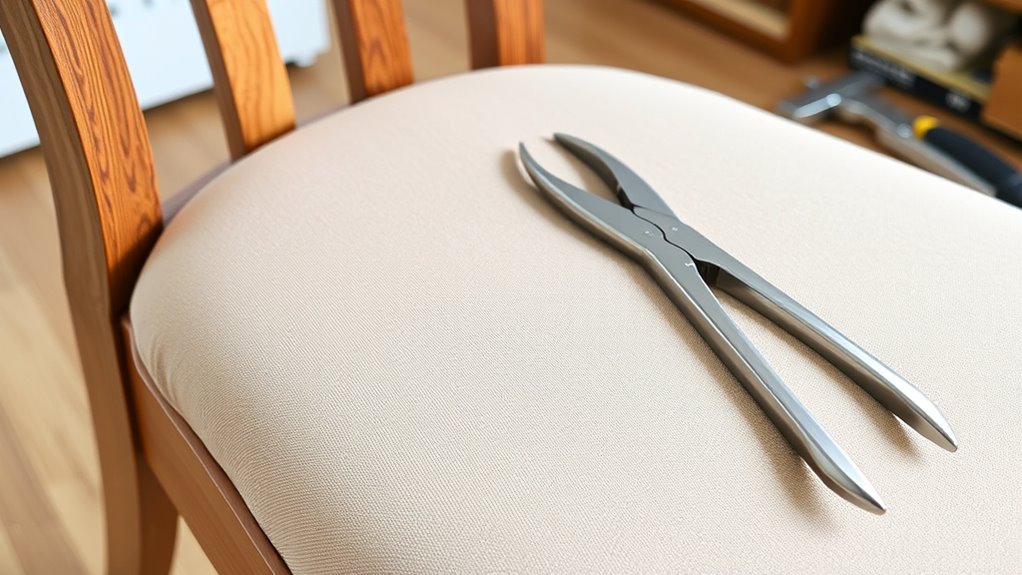
What Tools Are Essential for Reupholstering a Chair?
When reupholstering a chair, you’ll need essential tools like a staple remover, a staple gun, and scissors. These help you remove old fabric, secure new fabric patterns, and attach the new upholstery firmly. Upholstery staples are crucial for holding the fabric in place, while a staple remover makes removing old staples easier. Having these tools on hand ensures a smooth, DIY reupholstery process without professional help.
How Can I Reupholster a Chair With Curved or Intricate Frames?
Reupholstering a chair with curved or intricate frames requires careful frame restoration first, ensuring it’s stable and smooth. When choosing fabric patterns, pick ones that complement the frame’s design, and cut them with precision to fit curves perfectly. You’ll want to work slowly, using a staple gun to secure fabric tightly, and take your time smoothing out wrinkles. This approach helps your reupholstered chair look professional and beautiful.
How Do I Prevent Wrinkles and Bumps in the Fabric?
To prevent wrinkles and bumps, you need to focus on fabric stretching and seam smoothing during reupholstering. As you pull the fabric tight, keep it smooth and even, avoiding overstretching which causes new wrinkles. Use a staple gun to secure the fabric, smoothing it with your hands or a tool as you go. Carefully work around seams, making sure they stay flat and neat to achieve a flawless finish.
What Safety Precautions Should I Take During Reupholstery?
Safety always comes first, so don’t cut corners—your safety’s no exception. When reupholstering, wear gloves and safety goggles to protect your skin and eyes. Keep your workspace well-ventilated, especially when using adhesives or paints. Double-check your tools for durability and proper functioning. Follow correct sewing techniques, and handle sharp objects carefully. Remember, a stitch in time saves nine—so prioritize safety to avoid setbacks and ensure a smooth project.
Conclusion
Reupholstering your chair is a rewarding project that anyone can tackle with patience and the right tools. Imagine transforming an old, worn-out piece into a fresh focal point for your room—like Sarah did with her vintage armchair, giving it new life without hiring a pro. With a little effort, you’ll enjoy a custom look and the satisfaction of creating something unique. So, get started—your perfect chair awaits!