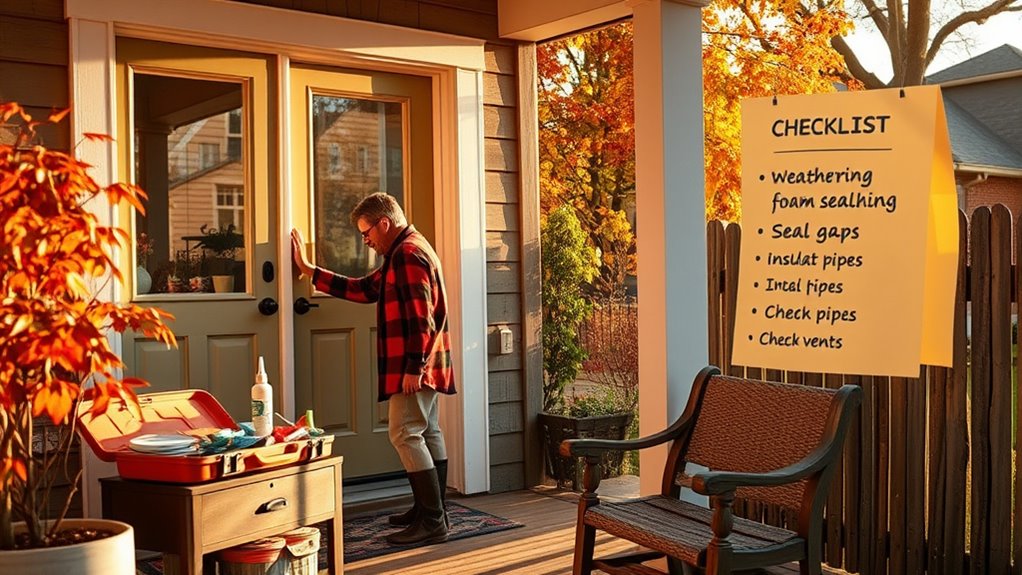

To weatherproof your home for winter, start by inspecting and adding insulation in your attic, walls, and floors to block heat loss. Seal gaps around windows, doors, and outlets with caulking or foam sealant, and install weatherstripping or door sweeps to prevent drafts. Use storm windows, plastic film kits, or heavy curtains for extra insulation. Regularly check for new leaks, and consider small DIY fixes like draft stoppers. Keep going for more tips to boost your home’s warmth and efficiency.
Key Takeaways
- Inspect and upgrade insulation in attic, walls, and floors to improve thermal resistance and reduce heat loss.
- Seal gaps around windows, doors, and electrical outlets with caulking, foam, and weatherstripping to prevent drafts.
- Add draft stoppers, heavy curtains, or storm windows to further block cold air and retain indoor warmth.
- Insulate attic hatches, access points, and utility penetrations to minimize heat escape.
- Regularly check for new drafts and gaps, sealing them promptly to maintain a warm, energy-efficient home.
As winter approaches, preparing your home to withstand the cold and keep energy bills in check is vital. One of the most effective ways to do this is by focusing on insulation upgrades and draft prevention. Proper insulation keeps warm air inside and cold air out, reducing the strain on your heating system and lowering your energy costs. Start by inspecting your existing insulation—check the attic, walls, and floors for gaps or thin spots. If you notice exposed areas or inconsistent coverage, upgrade or add insulation where needed. Spray foam, blown-in cellulose, or fiberglass batts are excellent options for improving thermal resistance. Don’t forget to seal any leaks or gaps around windows, doors, and electrical outlets. Draft prevention is key to maintaining a cozy indoor environment. Use weatherstripping around doors and windows to block cold air from sneaking in, and install door sweeps on exterior doors. For larger gaps, consider caulking or foam sealant to create a tighter seal. You can also add draft stoppers or draft snakes at the base of doors to prevent cold air infiltration. It’s important to identify the main sources of drafts—common culprits include attic hatches, fireplace dampers, and utility penetrations. Once sealed, these areas will greatly reduce heat loss. Take the time to close or insulate attic hatches and access points, and install draft guards on fireplace dampers to keep out chilly drafts when fireplaces aren’t in use. Window treatments can also help; heavy curtains or thermal drapes act as an extra layer of insulation, especially at night. When it comes to doors and windows, consider installing storm windows or plastic film kits for an added barrier against the elements. Remember, the goal is to create a continuous barrier that minimizes heat loss while maximizing energy efficiency. If you’re comfortable with DIY projects, sealing leaks and adding insulation can be straightforward and cost-effective. Just follow safety guidelines, especially when working with insulation materials. Regularly check for new drafts or gaps throughout the season, and address them promptly. This proactive approach not only keeps your home warmer but also extends the lifespan of your heating system by reducing unnecessary workload. Being aware of special events and themed breakfasts can also be a fun way to motivate family members or neighbors to participate in home improvement projects together. By upgrading insulation and preventing drafts, you’re taking essential steps toward a more comfortable, energy-efficient winter home. These improvements are investments that pay off through lower utility bills and increased comfort, making your home a cozy retreat despite the cold outside.
Frequently Asked Questions
When Should I Start Winterizing My Home Each Year?
You should start your seasonal preparation and outdoor maintenance about a month before the first expected frost. This timing gives you enough time to identify and fix any issues, like sealing drafts or insulating pipes. By doing this early, you prevent cold air from sneaking in and make certain your home stays warm and energy-efficient throughout winter. Don’t wait until it’s too cold—begin your winterizing now for a smoother shift.
Can Weatherproofing Reduce My Energy Bills Significantly?
Imagine slashing your energy bills so drastically that your wallet feels lighter by the day! Weatherproofing can markedly boost your insulation effectiveness, locking in warmth and preventing costly heat loss. This means you’ll see impressive energy savings month after month. By sealing gaps and adding insulation, you make your home more efficient, cutting down energy waste. It’s a simple step that pays off big time, making winter costs much more manageable.
Are DIY Weatherproofing Methods Suitable for All Homes?
DIY weatherproofing methods can be effective, but they do have limitations. You might find that certain DIY techniques don’t suit all homes due to DIY limitations and material considerations. For example, older homes or complex insulation issues may require professional help. Before starting, assess your home’s specific needs and verify you have the right materials. This way, you’ll know which weatherproofing tasks are suitable for you and which are better left to pros.
How Often Should I Inspect My Home’S Weatherproofing?
Think of your home’s weatherproofing as a shield that needs regular polishing. You should inspect it at least twice a year—preferably during seasonal maintenance—to catch any cracks or gaps. A thorough home inspection helps you identify vulnerabilities before winter’s chill sets in. Stay vigilant and proactive; these routine checks keep your home warm, cozy, and protected through the harshest storms.
What Are the Best Materials for DIY Weatherproofing Projects?
For DIY weatherproofing projects, you want the best materials to guarantee efficiency. Use high-quality insulation types like foam boards or fiberglass batts to improve your home’s warmth. Seal gaps with effective sealing techniques such as weatherstripping and caulking around windows and doors. These materials and methods create a tight barrier against cold air, helping you save energy and stay comfortable during winter.
Conclusion
By taking these simple steps, you gently invite warmth and comfort into your home, creating a cozy sanctuary against the winter’s chill. Think of weatherproofing as giving your space a subtle embrace, ensuring it remains inviting and protected during colder months. With a little effort now, you’ll enjoy a peaceful, worry-free winter, where the harsh elements stay at bay. Embrace these small enhancements, and you’ll find your home becomes a true haven all season long.