
To replace a light fixture yourself, start by turning off the power at the circuit breaker and verifying it’s off with a voltage tester. Remove the old fixture by unscrewing mounting hardware and disconnecting the wires, noting their connections. Connect the new fixture’s wires (black to black, white to white, ground to ground), secure them with wire nuts, and mount the fixture firmly. Once everything’s connected and secure, restore power and test the new light—if it doesn’t work, double-check your wiring connections and make certain everything is tight and safe.
Key Takeaways
- Turn off power at the circuit breaker and verify no electricity is flowing with a voltage tester.
- Remove the existing fixture carefully, noting wire connections and taking pictures if needed.
- Connect the new fixture’s wires to the ceiling wires: black to black, white to white, and ground to ground.
- Secure the new fixture to the mounting bracket, ensuring all connections are tight and the fixture is stable.
- Restore power at the breaker and test the fixture to confirm proper operation before finalizing.
Replacing a light fixture is a straightforward project that can refresh a room’s appearance and improve lighting. Before you start, it’s vital to prioritize safety precautions to prevent accidents or electrical hazards. Turn off the power at your circuit breaker to cut all electricity to the fixture. Double-check that the power is off by flipping the light switch and testing the fixture with a voltage tester. This step is essential to avoid shocks. Gather the tools needed for the job, which typically include a screwdriver (flathead and Phillips), wire strippers, a ladder or step stool, and possibly a voltage tester if you haven’t already used one. Having everything ready before you start saves time and reduces frustration.
Always turn off the power, test with a voltage tester, and gather the right tools for safety and success.
Once safety is secured, remove the existing fixture. Carefully remove any bulbs and the fixture cover or glass shades. Next, unscrew the mounting bracket or screws holding the fixture in place. Gently lower the fixture, exposing the wiring connections. Take note of how the wires are connected—usually, black or red wires are hot, white wires are neutral, and green or copper wires are ground. Use your screwdriver to loosen the wire nuts or terminal screws. Disconnect the wires, being mindful of their placement for when you connect the new fixture. Understanding the wiring system is crucial for a safe installation.
Before installing the new fixture, inspect the mounting bracket to ensure it’s securely attached and compatible with your new fixture. Connect the wires from your ceiling to those on the fixture, following the wiring diagram provided with the new fixture. Typically, connect black to black, white to white, and green or copper to the ground wire. Twist the wires together and secure them with wire nuts, then tuck them neatly into the electrical box.
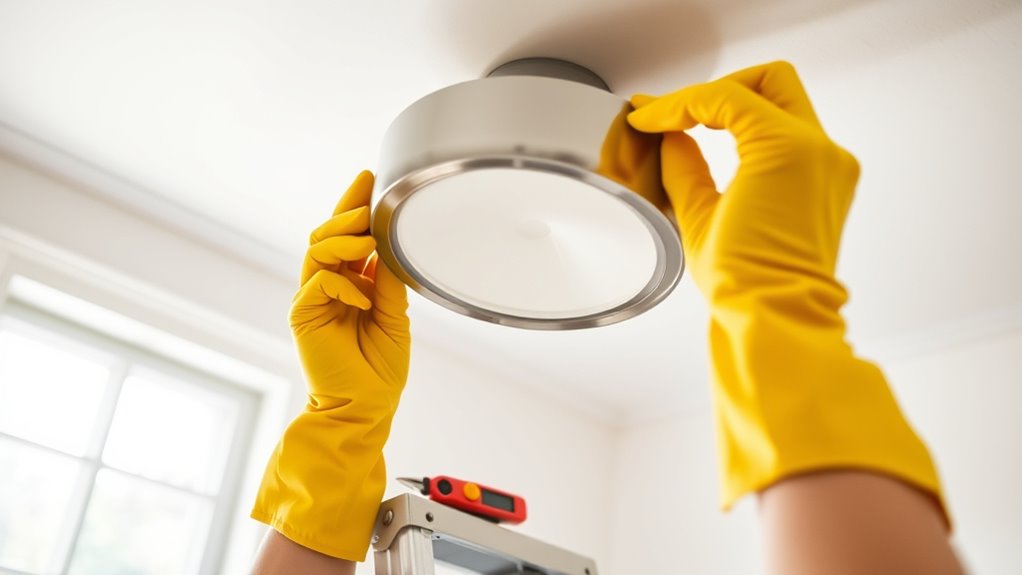
Now, attach the new fixture to the mounting bracket. Secure it firmly with screws, ensuring it’s level and stable. Replace any glass shades or bulbs as needed. Before restoring power, double-check all connections and make sure no wires are exposed. Once everything looks good, turn the circuit breaker back on. Test the fixture to confirm it’s working properly. If it doesn’t light up, switch off the power again and recheck your wiring connections.
Replacing a light fixture is a manageable task when you follow proper safety precautions and have the right tools needed. Taking your time and being cautious ensures a successful installation that brightens your space safely and effectively. Additionally, being aware of electrical safety guidelines can help prevent potential hazards during the process.
Frequently Asked Questions
Can I Replace a Light Fixture Without Turning off the Power?
You shouldn’t replace a light fixture without turning off the power, as it poses serious safety risks. Always follow safety precautions when doing DIY lighting projects; turning off the circuit breaker guarantees you’re not exposed to live wires. Working with electricity while it’s active can cause electrical shock or injury. For your safety, double-check that the power is off before starting, and avoid replacing fixtures without proper precautions.
What Tools Are Essential for Replacing a Light Fixture?
When replacing a light fixture, you’ll need some essential tools. Wireless tools like cordless screwdrivers make the job easier, while a voltage tester guarantees safety by confirming power is off. Don’t forget safety equipment such as gloves and safety glasses to protect yourself. Having these tools handy helps you work efficiently and safely, making the replacement process smooth and straightforward without needing to call an electrician.
How Do I Identify the Correct Wattage for a New Fixture?
You might worry about choosing the wrong wattage, but checking fixture specifications makes it simple. First, review the lighting compatibility listed on your new fixture’s label or packaging. Then, match that to your existing wiring and bulb socket capacity. Remember, exceeding the recommended wattage can cause safety issues, so always follow the fixture’s specs. This way, you guarantee safe, effective lighting without risking electrical problems.
Is It Safe to Replace a Fixture if I Have Limited Electrical Experience?
When considering replacing a fixture with limited electrical experience, safety is key. If you lack DIY confidence, it’s best to consult a professional to avoid electrical safety hazards. However, if you’re comfortable, turn off the power at the breaker, use proper tools, and follow safety guidelines carefully. Always double-check connections and confirm the circuit is de-energized before working. When in doubt, seek expert help to keep yourself safe.
How Do I Dispose of the Old Light Fixture Safely?
Imagine your old light fixture as a fading star, ready to be retired with care. For lighting disposal, carefully disconnect it and check local regulations for hazardous waste. If possible, opt for fixture recycling—many communities offer special programs. Wrap fragile parts securely, and take your fixture to a designated recycling center or disposal site. By doing so, you give your old fixture a respectful farewell and contribute to a cleaner planet.
Conclusion
So, there you have it—who knew swapping out a light fixture could be so straightforward? Maybe next time you’ll consider tackling larger projects, or perhaps even wiring your entire house. Just remember, if your new fixture flickers or sparks fly, it’s probably time to call in a pro—after all, some things are better left to the experts. But for now, enjoy your bright, new space—electricity has never looked so simple.